¡Hola a todos! Mi nombre es Vania Parada y en esta ocasión les traigo un tutorial con acuarelas líquidas y marcadores Ecoline.
Hello everyone! My name is Vania Parada and this time I bring you a tutorial with Ecoline liquid watercolors and markers.
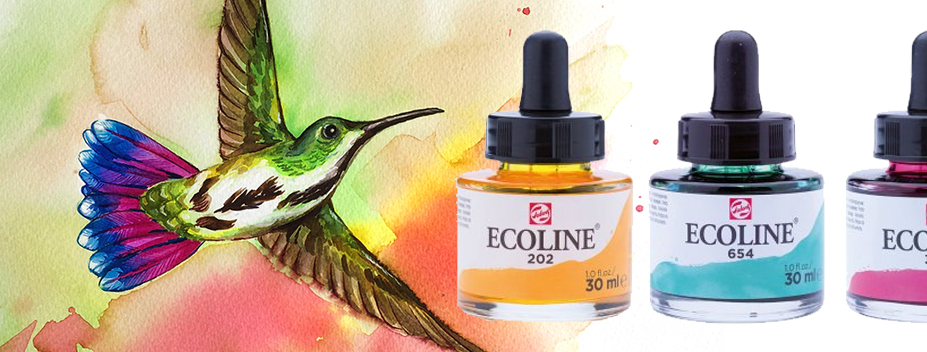
Las acuarelas líquidas Ecoline son acuarelas muy vibrantes, con gran transparencia, ideales para ilustradores. Pero en esta ocasión vamos a usarla para realizar una pintura mas relajada en la que podamos dejar fluir los colores, divertirnos y disfrutar de su intensidad.
Los marcadores acuarelables Ecoline, son muy prácticos a la hora de añadir detalles y están disponibles en la misma gama de colores que las acuarelas líquidas.
Todos los materiales listados a continuación puedes encontrarlos en la tienda online de Nube de Papel.
Ecoline liquid watercolors are very vibrant watercolors, with great transparency, ideal for illustrators. But this time we are going to use it to make a more loose painting in which we can let the colors flow, have fun and enjoy their intensity.
Ecoline watercolor markers are very practical when adding details and are available in the same color range as liquid watercolors.
All the art supplies listed below can be found in the Nube de Papel online store.
Materiales:
- Acuarelas líquidas Ecoline (blanco, rosa, azul, amarillo, verde y tierra siena tostada).
- Marcadores Ecoline (rosa, azul, amarillo, verde, sepia claro y oscuro).
- Pinceles Royal & Langnickel número 10 (o mayor) y 5.
- Pincel de agua Sakura.
- Bolígrafo Gel Blanco Sakura.
- Pluma o un pincel fino para detalles.
- Lápiz de grafito y goma de borrar.
- Papel de acuarela de 300gsm.
- Cinta de enmascarar.
- Paleta para mezclar colores.
- Atomizador con agua.
Art Supplies:
- Ecoline watercolors (white, rose, blue, yellow, green y burnt sienna).
- Ecoline markers (rose, blue, yellow, green, light sepia and dark sepia).
- Brushes Royal & Langnickel size 10 (or bigger) y 5.
- Waterbrush Sakura.
- White gelly roll pen – Sakura.
- Dip pen.
- Pencil and eraser.
- Watercolor paper 300gsm.
- Masking tape.
- Palette.
- Water spray bottle.
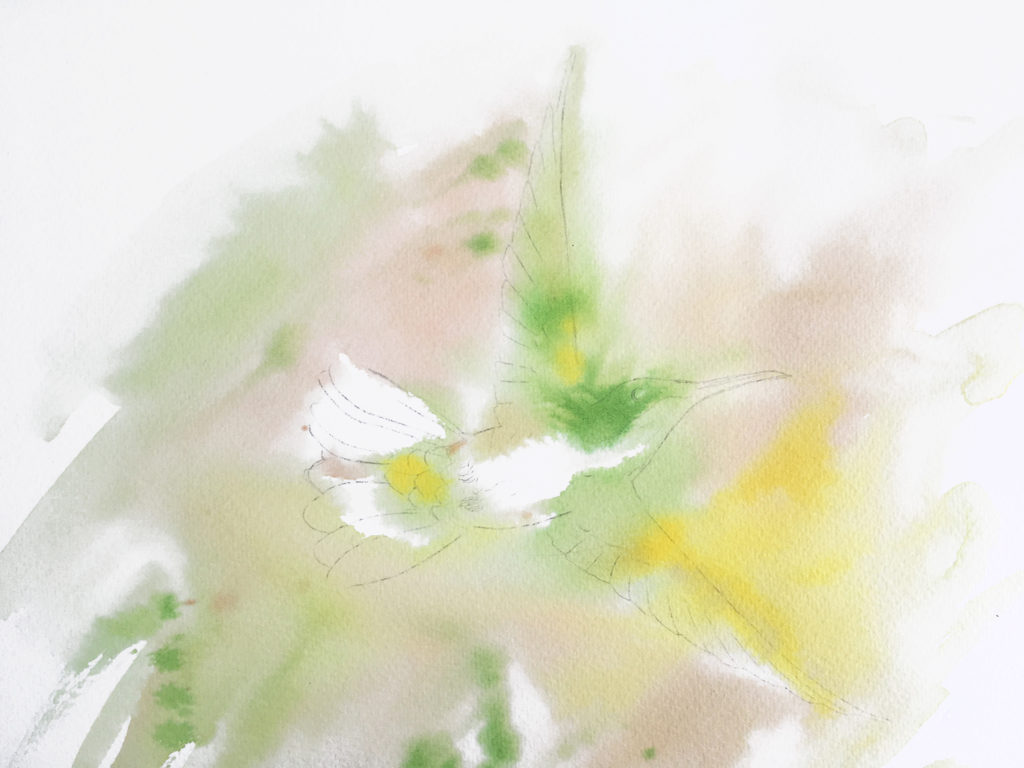
Para la primera capa de color, humedecemos el papel con un atomizador con agua, esto ayudara a que los colores fluyan en el papel y se mezclen entre sí. Vamos a usar verde y amarillo para pintar el picaflor, dejando que el color fluya por fuera del dibujo, luego para el fondo usamos tierra de siena tostada con amarillo rebajado con agua y dejamos que todos los colores se mezclen.
For the first layer of color, we moisten the paper with a spray bottle with water, this will help the colors flow on the paper and mix with each other. We are going to use green and yellow to paint the hummingbird, letting the color flow outside the drawing, then for the background we use burnt sienna with yellow, diluted with water and let all the colors mix.
Para las plumas de la cola, primero humedecemos el área y luego aplicamos color rosa y en la punta de la pluma color azul, y movemos el color tratando de formar un degrade. Repetimos este procedimiento en todas las plumas.
For the tail feathers, first we moisten the area and then we apply pink color and blue color to the tip of the feather, and we move the color trying to form a gradient. We repeat this procedure for all feathers.

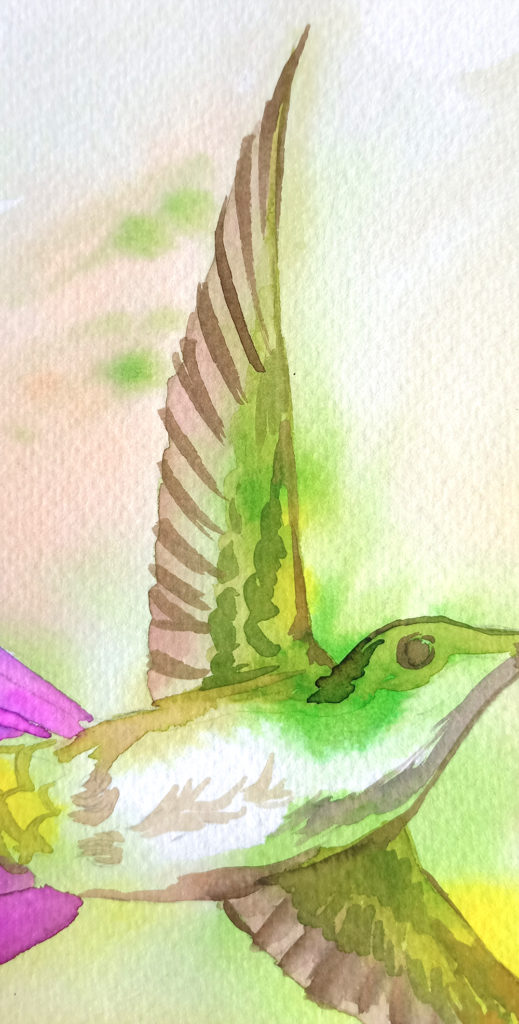
Vamos añadiendo color y detalle a las plumas de las alas y del cuerpo, no tiene que ser perfecto ni tiene porque ser idéntico a la referencia, solo tenemos que intentar sugerir que son plumas.
Con marcadores amarillo y verde, seguimos añadiendo mas color al cuerpo y las alas del picaflor. Para las zonas marrones de las alas y las manchas del cuerpo, podemos usar marcadores sepia claro y oscuro. El ojo y el pico los pintamos con el marcador sepia oscuro.
Add more color and detail to the feathers of the wings and the body, it does not have to be perfect nor does it have to be identical to the reference, we just have to try to suggest that they are feathers.
With yellow and green markers, we continue to add more color to the body and wings of the hummingbird. For the brown areas of the wings and the spots on the body, we can use light and dark sepia markers. The eye and the beak are painted with the dark sepia marker.
Con un marcador rosa y uno azul, añadimos mas contraste y sombras a las plumas. Podemos usar el pincel de agua para ayudar al color a extenderse e intensificar el degrade.
With a pink and a blue marker, we add more contrast and shadows to the feathers. We can use the water brush to help the color spread and intensify the gradient.

Con una pluma o un pincel muy pequeño añadimos los detalles de las barbas de la pluma de la cola y de las plumas del cuerpo.
With a dip pen or a very small brush we add the details of the barbs of the tail feather and the feathers of the body.
Para el vientre del picaflor podemos usar acuarela blanca que es opaca, también podemos usarla para tapar algunos errores. Con el bolígrafo de gel blanco damos los últimos detalles añadiendo puntos de luz al ojo, al pico, y algunas plumas.
For the belly of the hummingbird we can use white watercolor that is opaque, we can also use it to cover some errors. With the white gel pen we give the last details adding points of light to the eye, the beak, and some pens
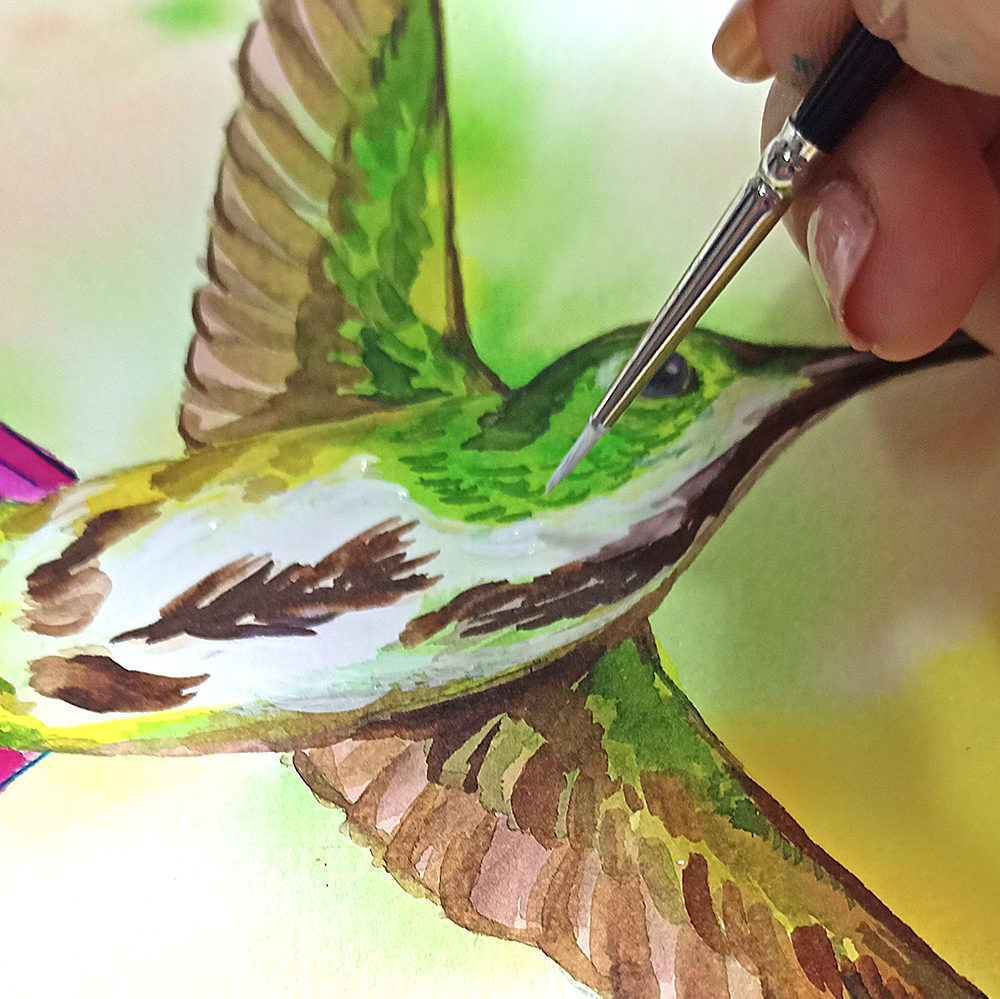
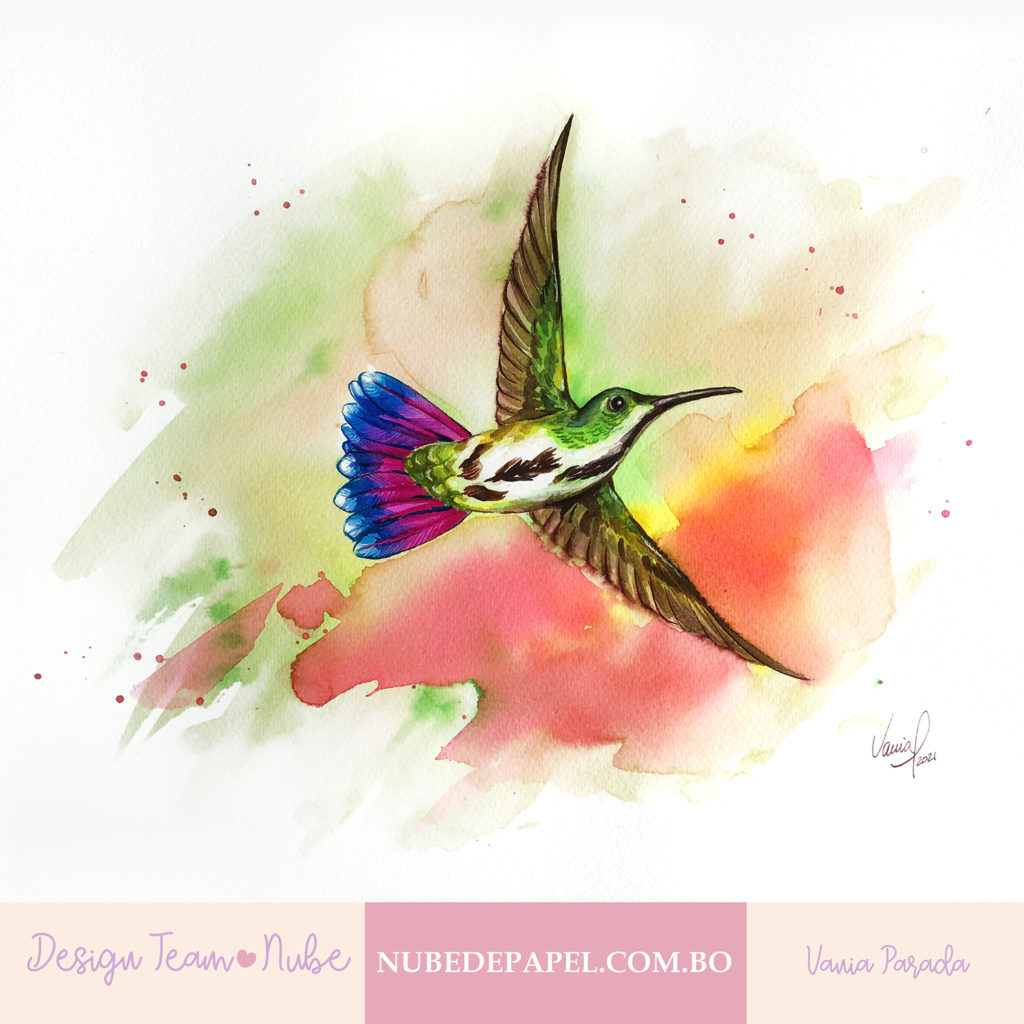
Finalmente retocamos lo que sea necesario hasta quedar conformes con el resultado. Y acá tenemos el resultado final. Espero que se animen a pintar con esta hermosa línea de acuarelas. ¡Hasta la próxima!
Finally we retouch what is necessary until we are satisfied with the result. And here we have the final result. I hope you are encouraged to paint with this beautiful line of watercolors. Until next time!

