Hola Soy Mariela Carballo y pertenezco al DT de Nube de papel en la categoría Cartonaje y aqui les traigo el paso a poso del álbum que realice con la inspiración de un caballete de acuarelas
Hello I am Mariela Carballo and I belong to the DT of Paper Cloud in the carton category and I want to bring you the step for the album you make with the inspiration of a watercolor easel
Hoy les traigo el álbum caballete de acuarelas espero les guste e iniciamos nuestro proyecto con la lista de materiales
Today I bring you the album watercolor easel I hope you like it and we start our project with the bill of materials
LISTA DE MATERIALES
- 6 hojas de cartulinas de diferentes colores
- Carton contracolado de 3 mm.
- Plásticos de laminación
- Block de papel: Mixed Media – Let’s Wander – Vicki Boutin Block de Papel Decorativo – Wild Flourish – Premium Stack
- 1 hoja de Goma Eva
- Cartulina Espejada Metalizada – Dorada
- Cinta o hilo dorado
- Relleno shakers lentejuelas
- Purpurina de colores
- Ephemera: Bloom Street Colección – Adornos – Paige Evans
- takckTacky Glue: Pegamento Multiuso 16 OZ
- Cinta doble contacto para encuadernacion
- Adhesivo con Relieve: 3D Sticki Thumb
- Cola de encuadernar
- Whashi tapes
- Pincel: Cepillo de Silicona para Medios
- Acetato trasparente
- 2 brads para decoracion
- Tijera
- Regla metálica
- Plegadera
- Troquel Thinlits: Jarrón y Troqueles Thinlits – Tablero de Clavija Cuadrada Cosida
- Perforador y Fijador de Ojal
- minc
BILL OF MATERIALS
- 6 sheets of cardboard of different colors
- 3 mm contracolado card.
- Rolling plastics
- Ephemera: Bloom Street Colección – Adornos – Paige Evans
- takckTacky Glue: Pegamento Multiuso 16 OZ
- 1 sheet Eva A4 Rubber
- Adhesivo con Relieve: 3D Sticki Thumb
- Golden ribbon or thread
- Filling shakers sequins
- Colorful glitter
- The cuts
- Adhesives
- Double contact tape for binding
- Binding tail
- Whashi tapes
- Pincel: Cepillo de Silicona para Medios
- Transparent acetate
- 2 brads for decoration
- scissors
- Metal ruler
- Plegadera
- Troquel Thinlits: Jarrón y Troqueles Thinlits – Tablero de Clavija Cuadrada Cosida
- Perforador y Fijador de Ojal
- minc
- Crop a dille
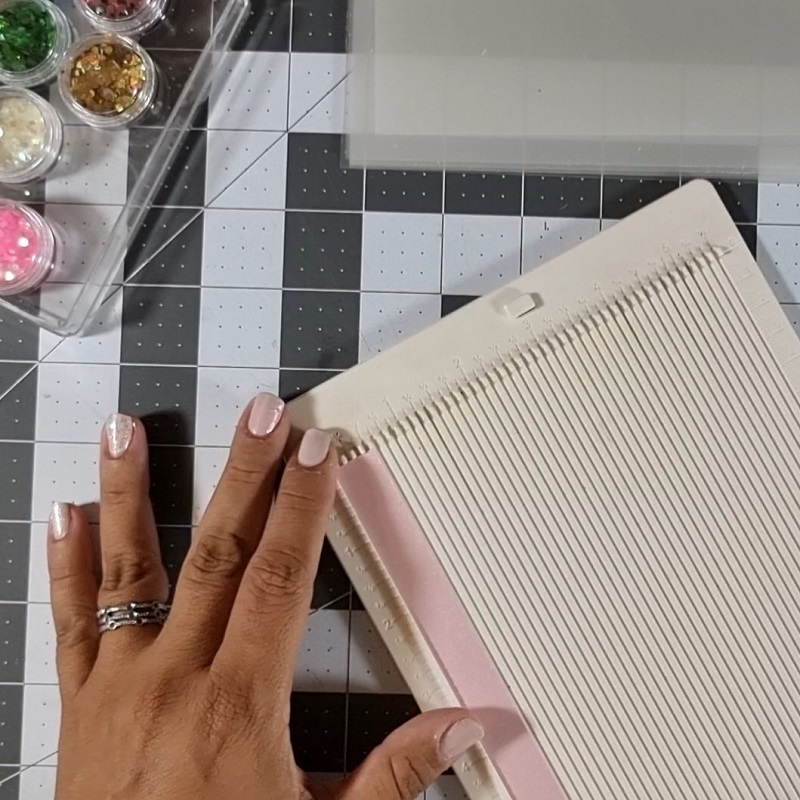
Cortamos las cartulinas de color en la medida de 17 * 1.5 cm y luego con la plegadera marcamos en ¼ de pulgada una lineá para formar la espina del álbum
We cut the colored cardboard to the size of 17 * 1.5 cm and then with the folding we mark in 1/4 inch a line to form the spine of the album
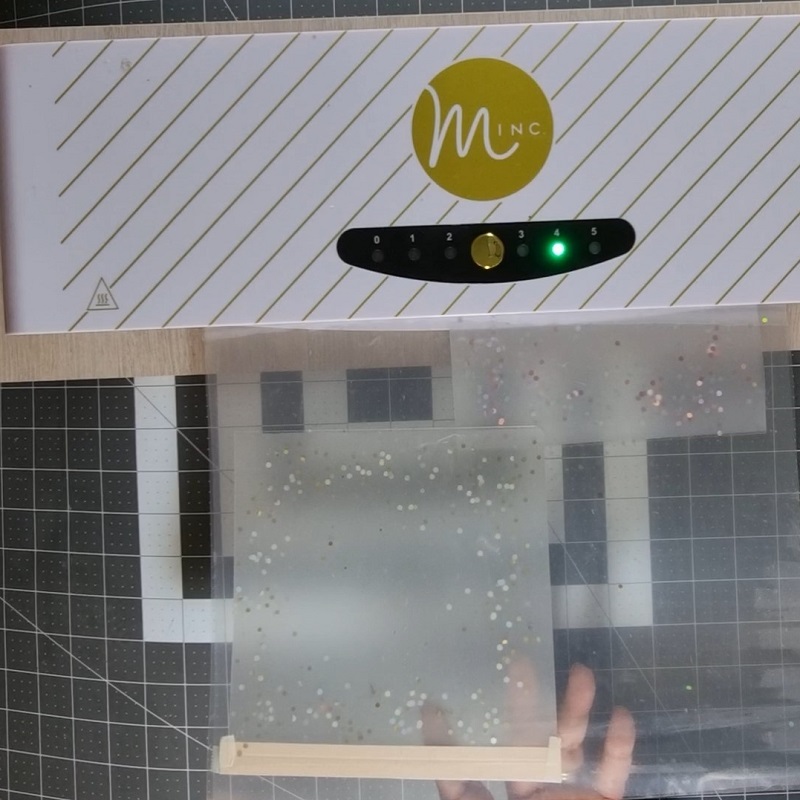
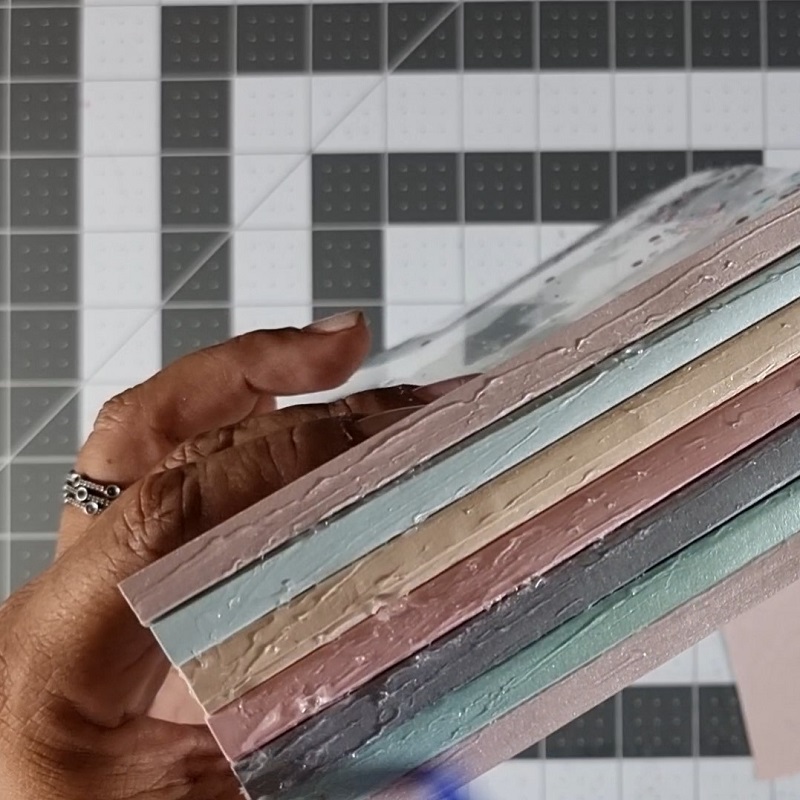
Cortamos las hojas o plásticos de laminación en la medida de 17 * 17 cm abrimos las hojas y luego decoramos en la parte de lo laterales con la purpurina o lentejuelas de colores, colocamos las cartulinas de 1,5 * 17 cm en el borde lateral para que el plástico se adhiera con el calor y se pueda formar la espina del álbum, cuidamos que solo quede prendida una parte de la cartulina la que marcamos con ¼ de pulgada luego pasmos por la laminadora o Minc
We cut the sheets or plastics of lamination to the extent of 17 * 17 cm we open the leaves and then decorate on the side part with the glitter or colored sequins, place the cardboards of 1.5 * 17 cm on the side edge so that the plastic adheres with the heat and can form the spine of the album album , we take care that only a part of the cardboard that we mark with 1/4 inch is lit then we pass through the laminator or Minc
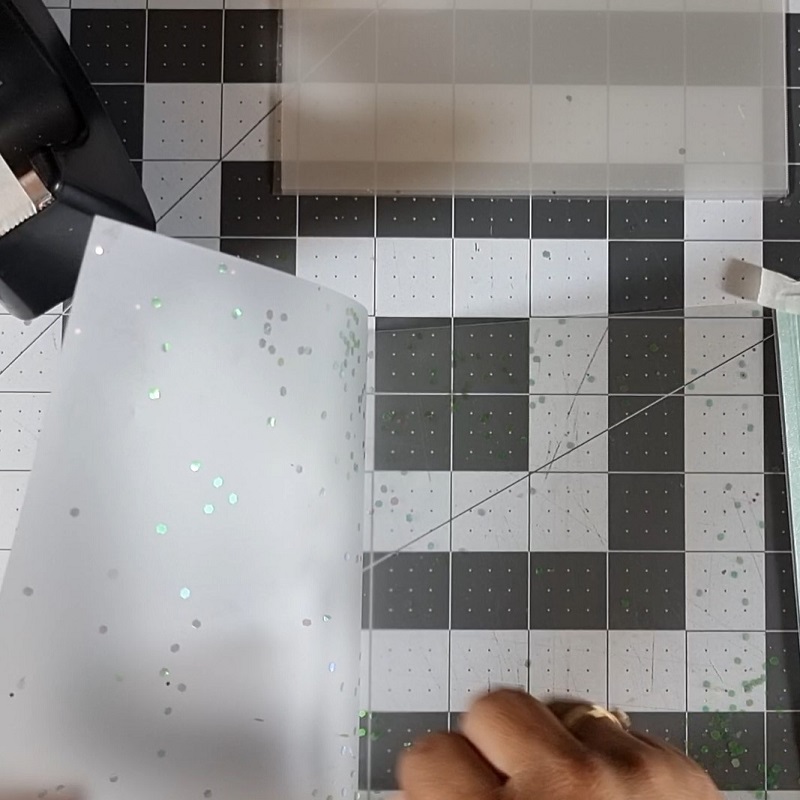
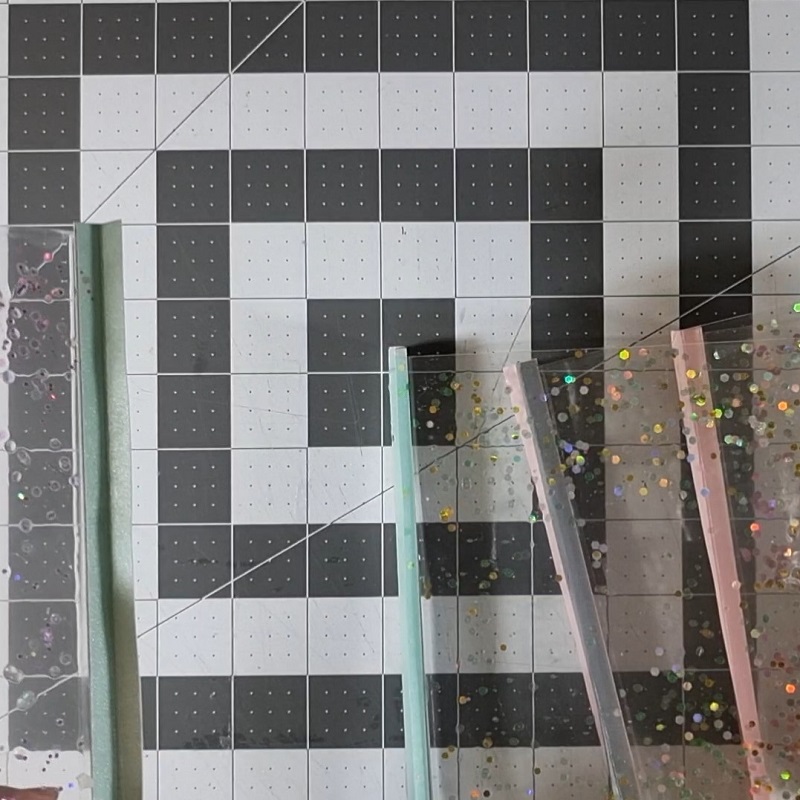
Formamos nuestras espinas doblando la cartulina y prendiendo el borde que queda suelto por fuera de la hoja unimos manteniendo un orden en los colores para que cada hoja mantenga su color, La hoja 1 será color palo de rosa la 2 y 3 serán verdes, la 4 y 5 serán plomas la 6 y 7 serán rosadas la 8 y 9 serán marfiles 10 y 11 celestes, y la 12 palo de rosa, prendemos las espinas entre si y así formamos las hojas de nuestro álbum
We form our spines by folding the cardboard and turning the edge that is loose outside the leaf we unedy keeping an order in the colors so that each leaf keeps its color, Leaf 1 will be pinkwood the 2 and 3 will be green, the 4 and 5 will be plumbs the 6 and 7 will be pink the 8 and 9 will be ivogus 10 and 11 celestial , and the 12 rosewood, we turn the thorns in each other so we form the leaves of our album
Este lomo formado con las hojas, lo prendemos a una cartulina de color palo de rosa de 17 * 6.5 cm para darle firmeza a las hojas y que no se suelten con el uso
This loin formed with the leaves, we light it to a cardboard of pink paolo of 17 po 6.5 cm to give firm to the leaves and do not let loose with the use
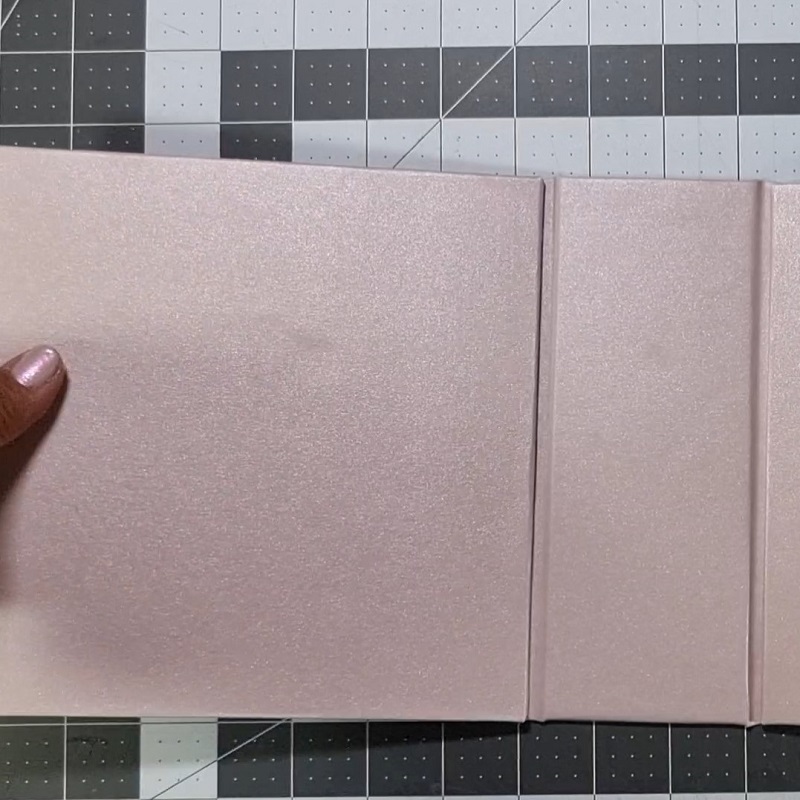
Forramos el lomo de cartón de 18 * 7, 5 cm y las tapas y contra tapa del álbum de 18 *18 cm con la cartulina color palo de rosa de 24 * 24 cm para las tapas y de 20 * 14 cm utilizamos goma de encuadernar o taki glue y nuestra espátula para esparcir la goma, unimos las tapa el lomo y contra tapa entre si dejando un espacio de aproximadamente cm, marcamos este espacio para luego abrir y cerrar fácilmente el álbum
We form the back cardboard of 18 * 7 cm and the caps and counter cover of the album of 18 *18 cm with the cardboard color rosewood of 24 * 24 cm for the caps and 20 * 14 cm we use binding rubber or taki glue and our spatula to spread the rubber, we join the lids the back and against cover with each other leaving a space of about cm, we mark this space to then open and close easily the album
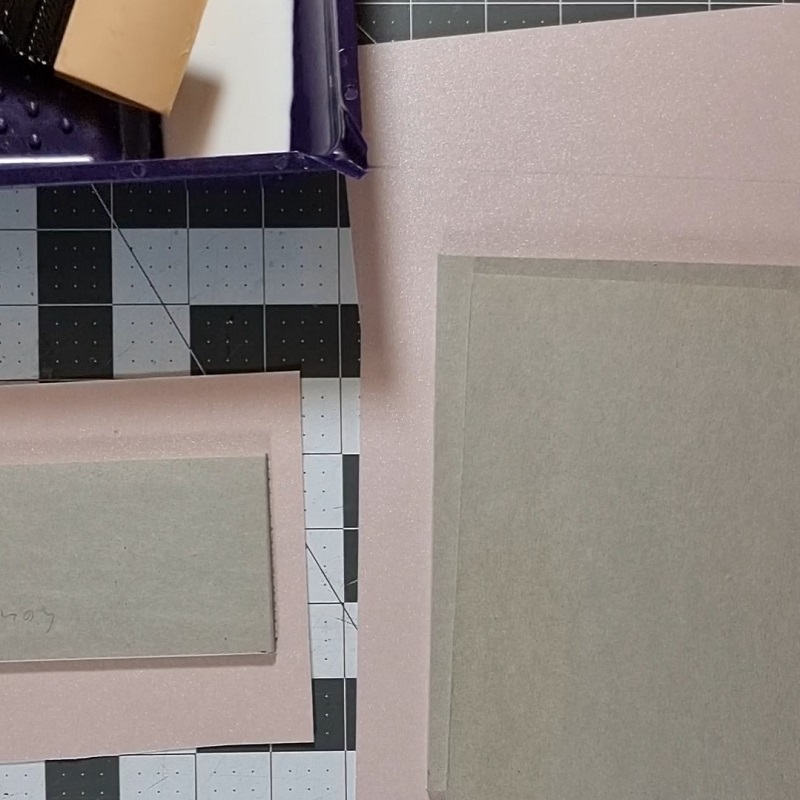
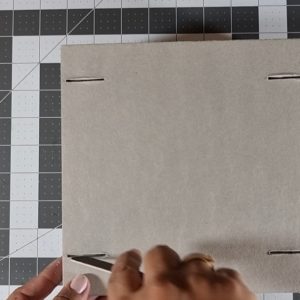
Armamos la caja con los cartones 19.2 * 19.2 cm para las bases los laterales de 19.2 * 8.8 cm y la parte trasera de 18,6 * 8,8 cm prendemos y armamos la caja en la tapa superior hacemos unas marcas de 3 cm a los 2,5 cm para que cortemos estas líneas con el estilete y dejemos una ranura en la que ingresaran las pestañas de soporte del caballete y el caballete
We assemble the box with the cartons 19.2 * 19.2 cm for the bases the sides of 19.2 * 8.8 cm and the tracer part of 18.6 * 8.8 cm ignite we make and assemble the box on the top cover we make a mark of 3 cm at 2.5 cm so that we cut these lines with the stylus and leave a slot in which the support tabs of the easel and easel will enter
Forramos la caja con la cartulina de 60 * 30 cm hacemos unos cortes en las equinas que nos permitirán tapar y forrar la base de la caja, nos quedaran unos 2 cm para poder forrar la parte de adelante.
We forge the box with the cardboard of 60 * 30 cm we make a few cuts in the equines that will allow us to cover and line the base of the box, we will have about 2 cm left to be able to line the front
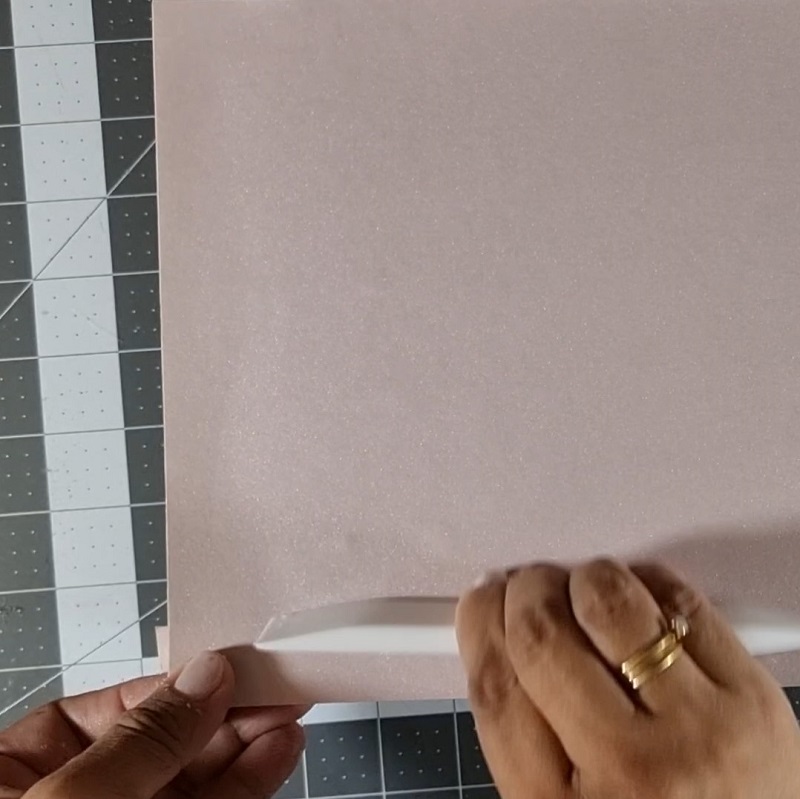
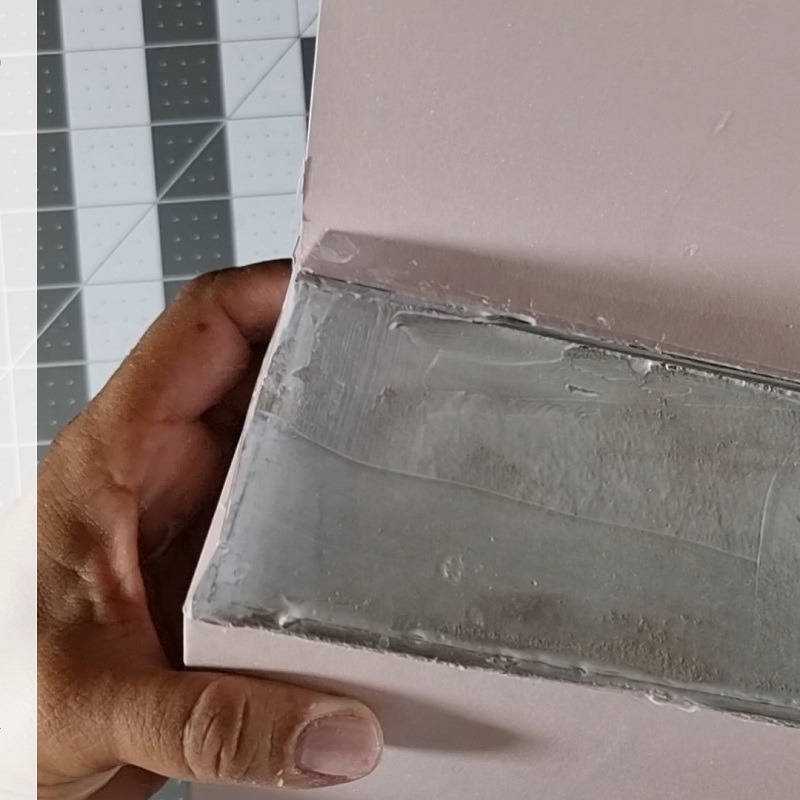
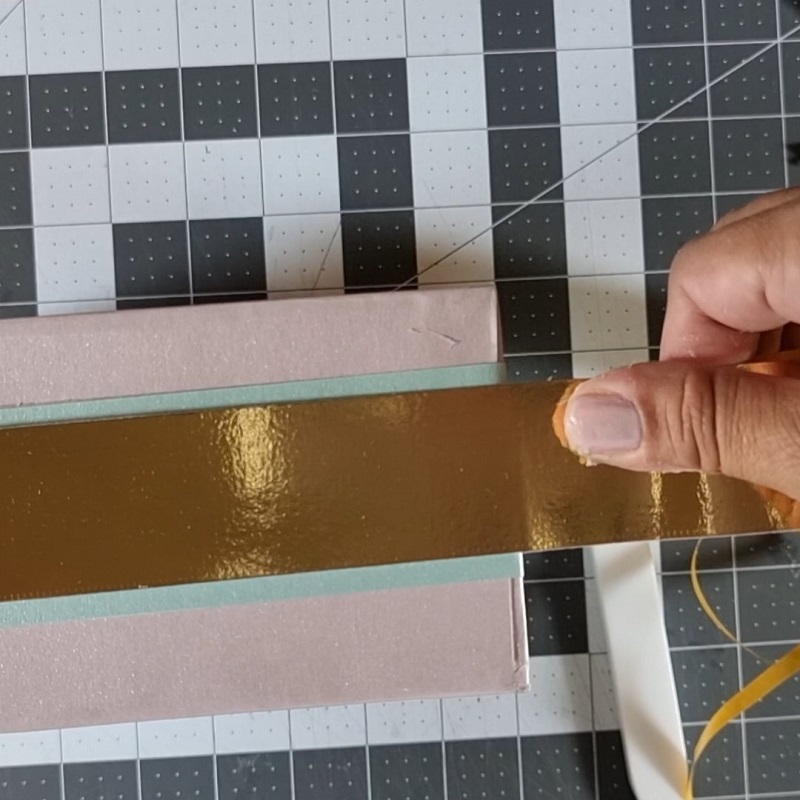
Decoramos el lateral de la caja con unas tiras de cartulina de 4, 5 * 60 cm otra tira dorada de 3,5 * 60 cm y una tira en color palo de rosa de 2,5 * 60 cm. Por la parte posterior de las tiras prendemos cinta doble contacto y montamos en la tira verde la dorad y en la tira dorada prendemos la tira palo de rosa centramos alrededor de la caja y decoramos
We decorate the side of the box with cardboard strips of 4, 5 * 60 cm another golden strip of 3.5 * 60 cm and a strip in rosewood color of 2.5 * 60 cm. On the poster side of the strips we light double contact tape and mount on the green strip the dorad and in the golden strip we light the strip rosewood we center around the box and decorate
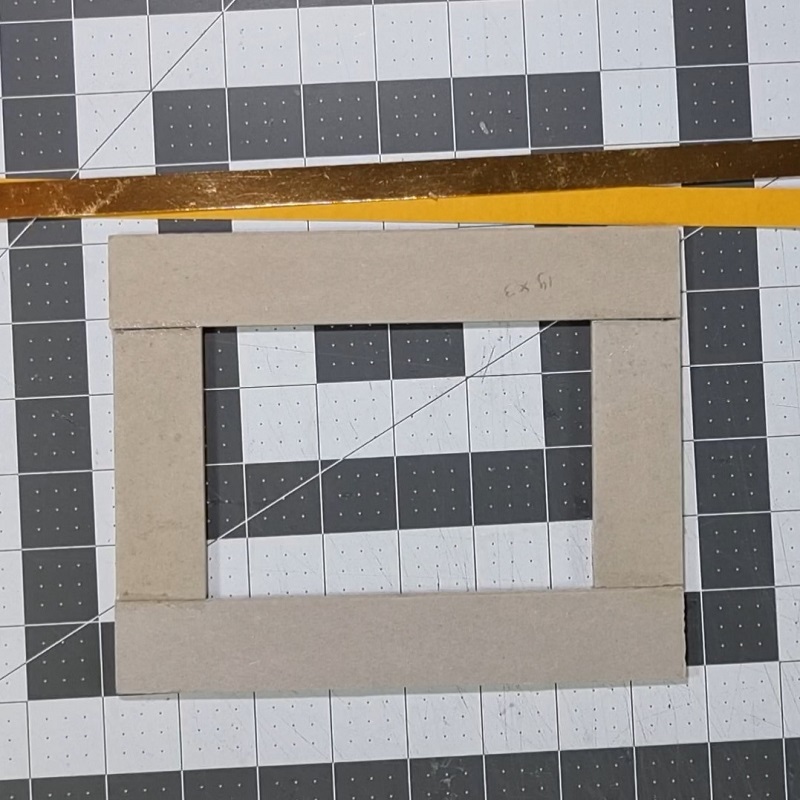
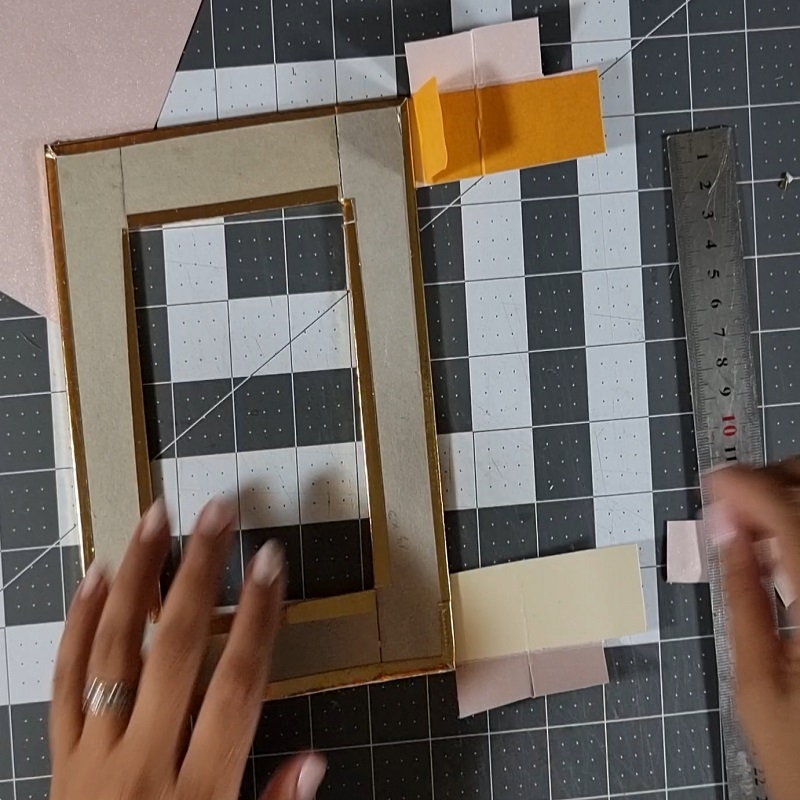
Cortamos tiras de cartón de 3 * 19 cm 2 unidades y 3 * 9 cm 2 unidades armamos el marco del caballete luego forramos el borde con tiras doradas de 1 cm que están ya con cinta doble contacto en la parte de atrás forramos todo el borde y el interior del marco
We cut cardboard strips of 3 * 19 cm 2 units and 3 * 9 cm 2 units we assemble the frame of the easel then line the edge with golden strips of 1 cm that are already with double contact tape on the back we line the entire edge and the inside of the frame
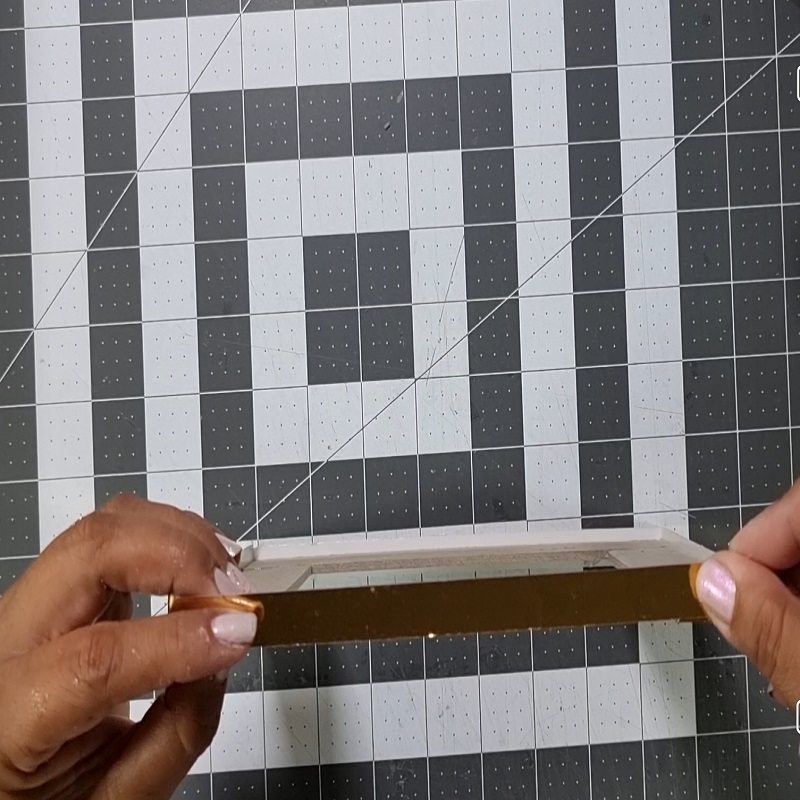
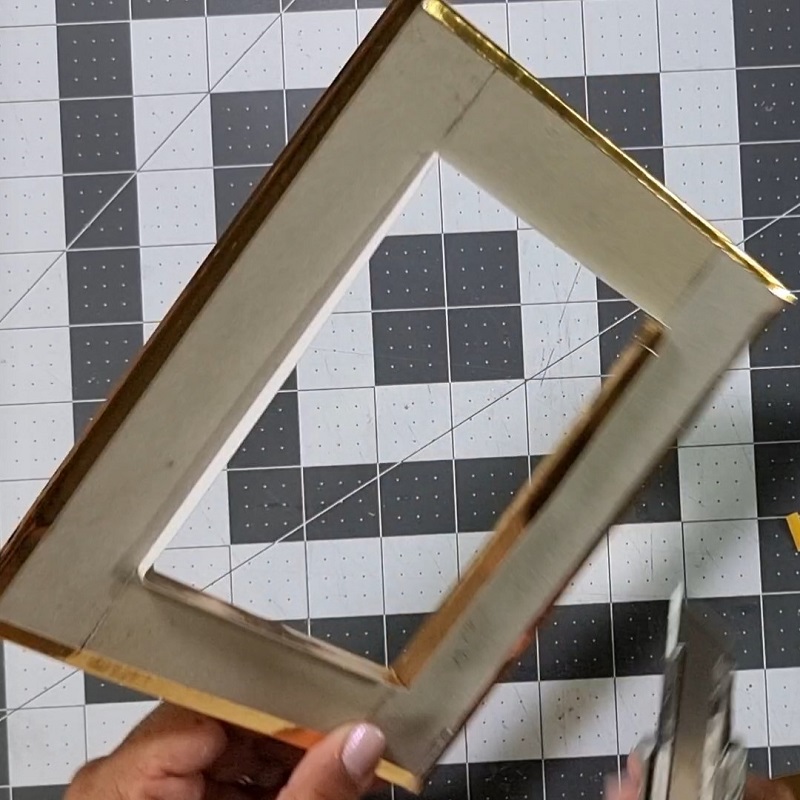
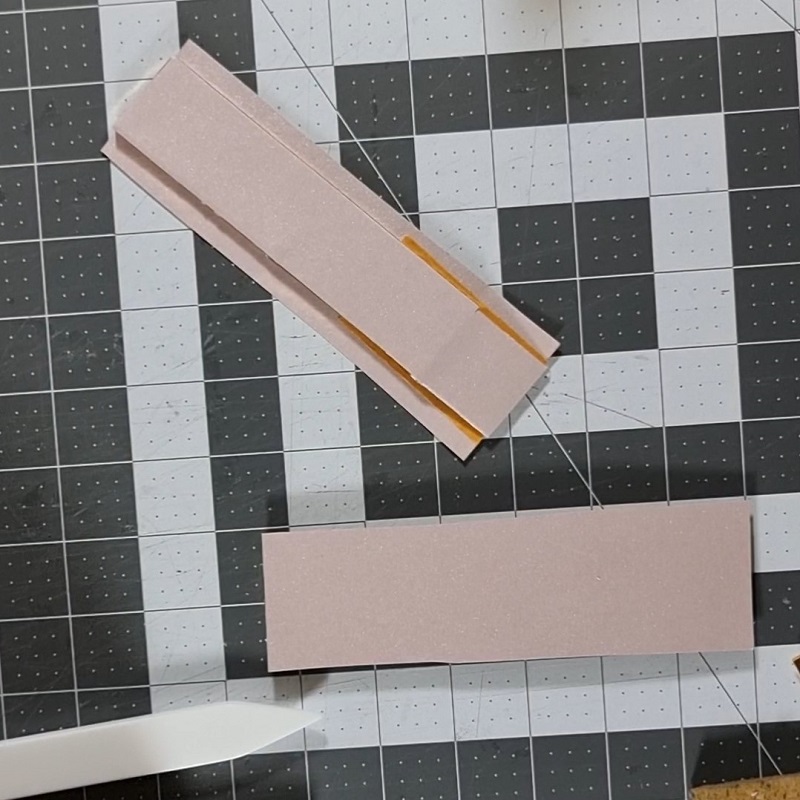
Cortamos 2 tiras de cartón de 13*3 cm y las forramos alrededor con las tiras doradas y luego cortamos 2 tiras de cartulina color palo de rosa de 15 cm * 4 cm con la cinta doble contacto de encuadernar que contiene como una tela en el interior la prendemos en la cartulina de 15 * 4 cm un tamaño de 5 * 3 cm para que nos sirva d soporte a la pestaña que ingresara en la caja y así la cartulina no se romperá con el uso
We cut 2 strips of cardboard of 13*3 cm and line them around with the golden strips and then cut 2 strips of cardboard pinkwood 15 cm * 4 cm with the double contact tape of binding detach that contains as a fabric inside we light it in the cardboard of 15 * 4 cm a size of 5 * 3 cm to serve us to support the tab that ungressed in the box and thus the cardboard won’t break with use
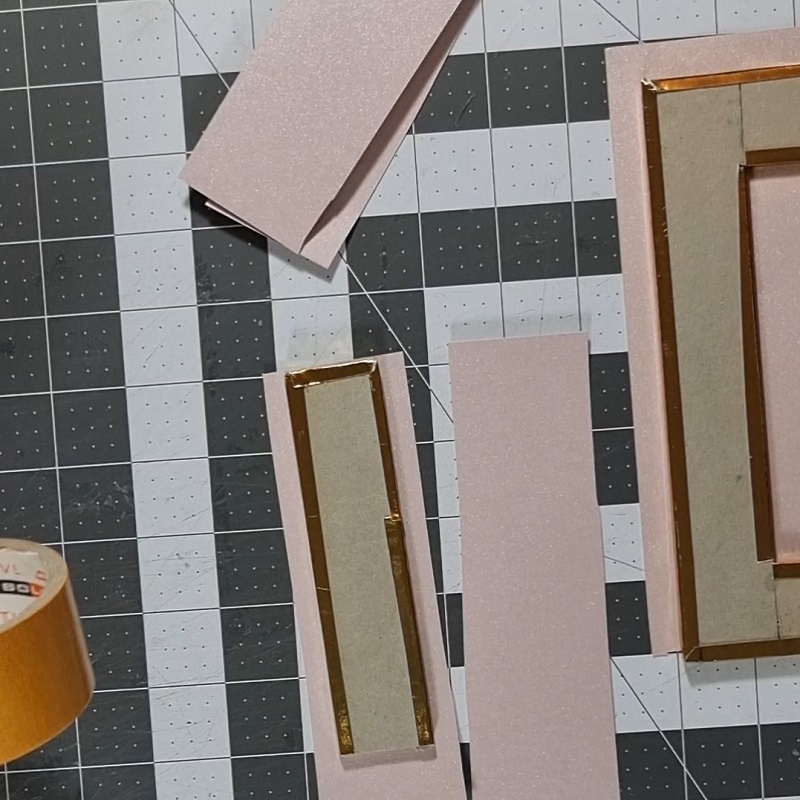
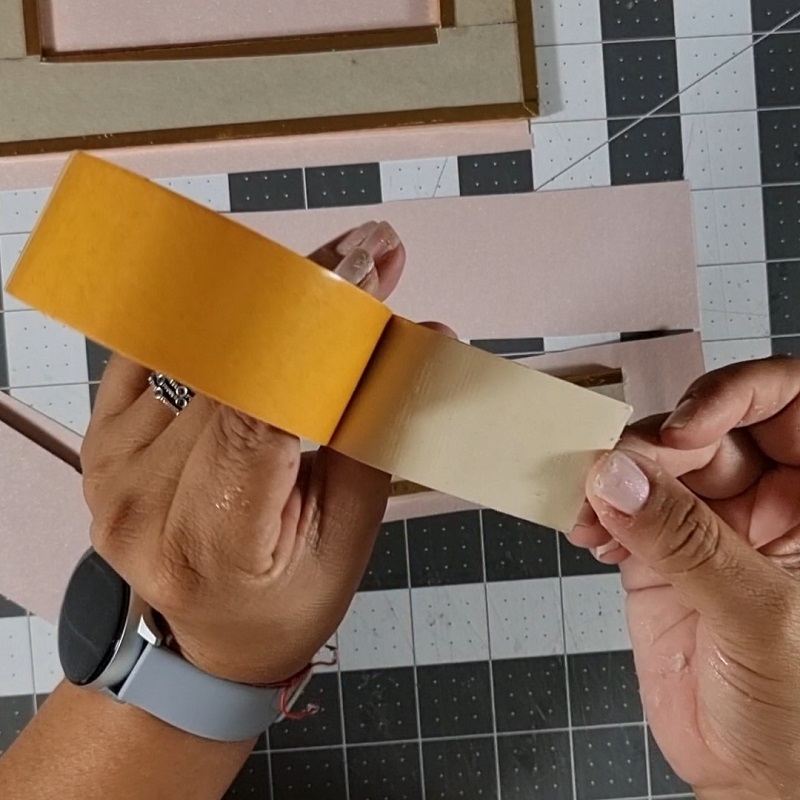
Prendemos mismos 5 * 3 cm de cinta de encuadernación en el marco, para crear las pestañas que ingresaran en la caja de nuestro álbum
forramos con la cartulina palo de rosa el marco y los soportes del marco, cortamos todo el excedente de cartulina con mucho cuidado de no dañar el borde dorado que tenemos en el marco y los soportes
We turn on the same 5 * 3 cm of binding tape in the frame, to create the tabs that will enter the box of our album
we form with the cardboard rosewood frame and frame supports, we cut all the exedent cardboard very carefully not to damage the golden edge that we have in the frame and the supports
forramos unos topes de cartón de 0,8 * 3 cm con el borde dorado y luego con un pedazo de cartulina palo de rosa, estos topes los prendemos en la parte trasera del soporte de acuarela
we pray a few 0.8 * 3 cm cardboard stops with the golden edge and then with a piece of cardboard rosewood, these stops we turn them on at the back of the watercolor holder
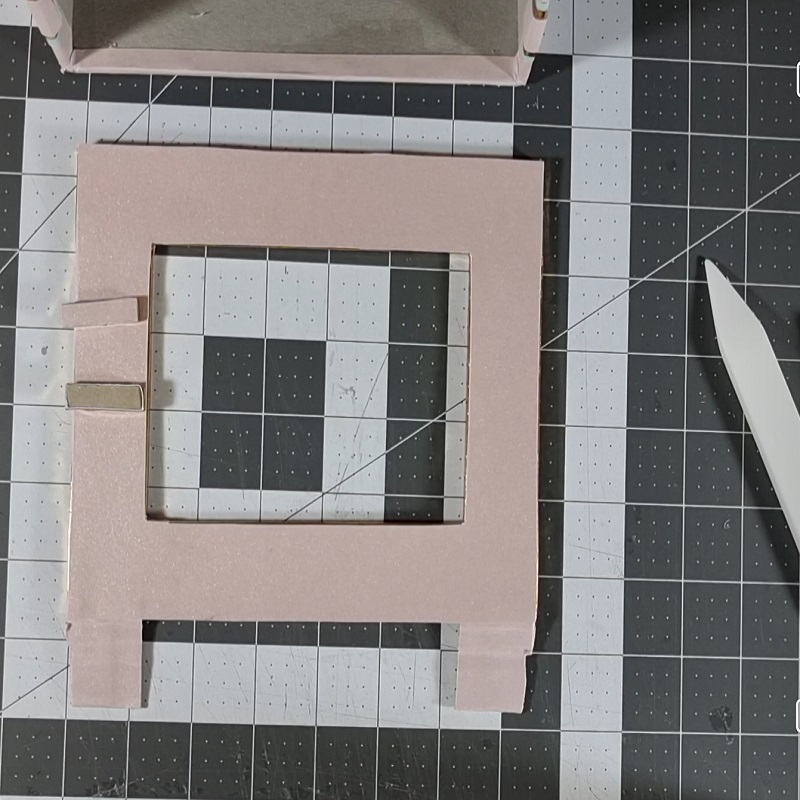
metemos las pestañas en la caja que ya esta forrada y cortada con los huecos listos para armar el caballete
we put the eyelashes in the box that is already lined and cut with the gaps ready to assemble the easel
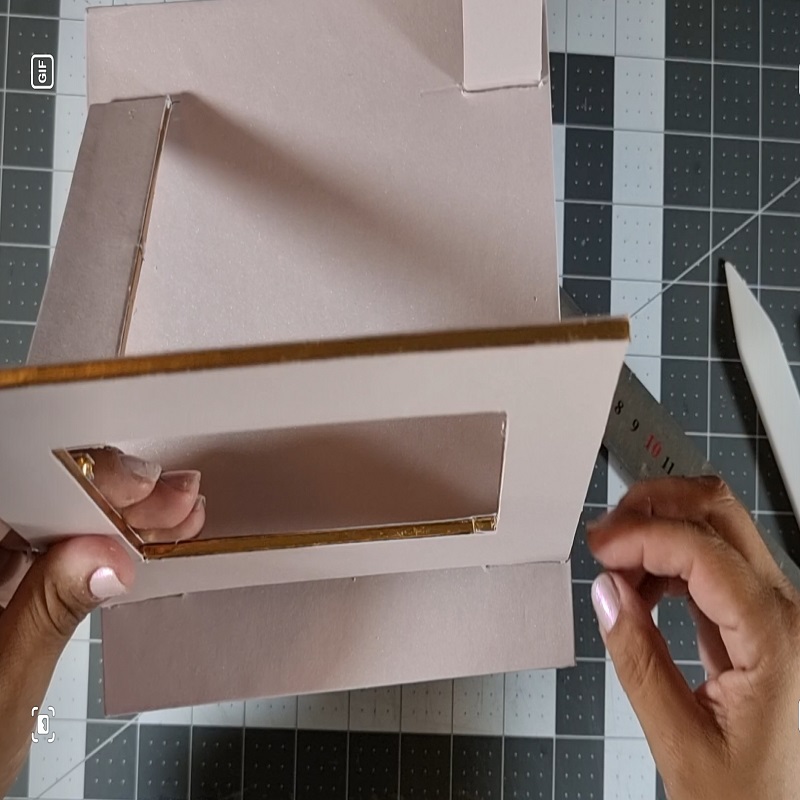
Con una tira de 2 * 15 cm de cartón formamos el soporte de los pinceles, en 1 * 15 cm le hacemos unas rayas al cartón con el estilete hasta desgastar pero no llegar al fondo del cartón luego doblamos el cartón en Angulo de 90 grados y finalmente forramos con cartulina dorada
With a strip of 2 * 15 cm of cardboard we form the support of the brushes, in 1 * 15 cm we make a few stripes to the cardboard with the stylus until worn but not reach the bottom of the cardboard then fold the cardboard and angle of 90 degrees and finally line with golden cardboard
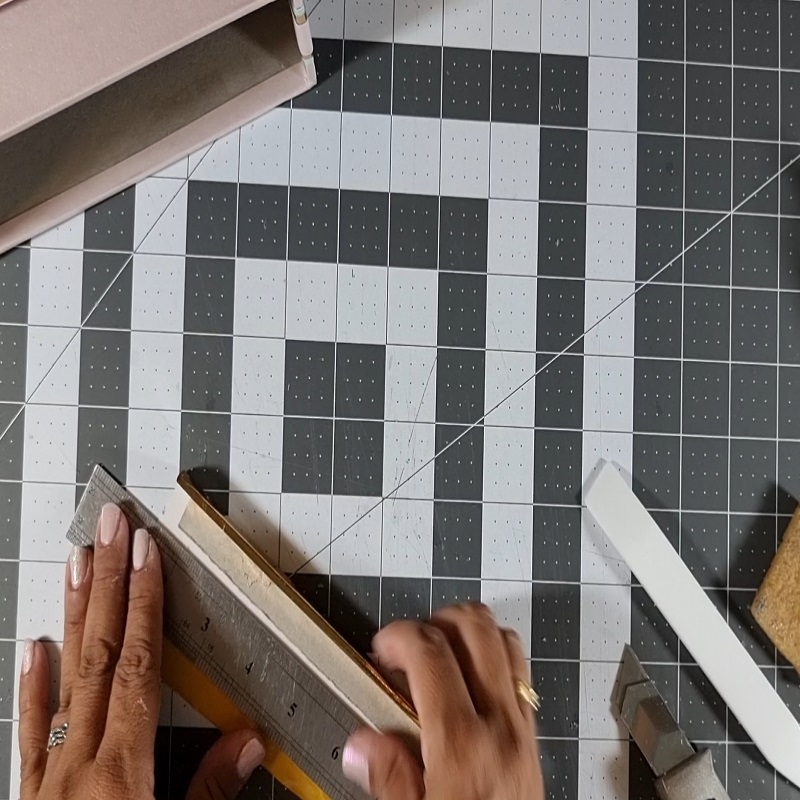
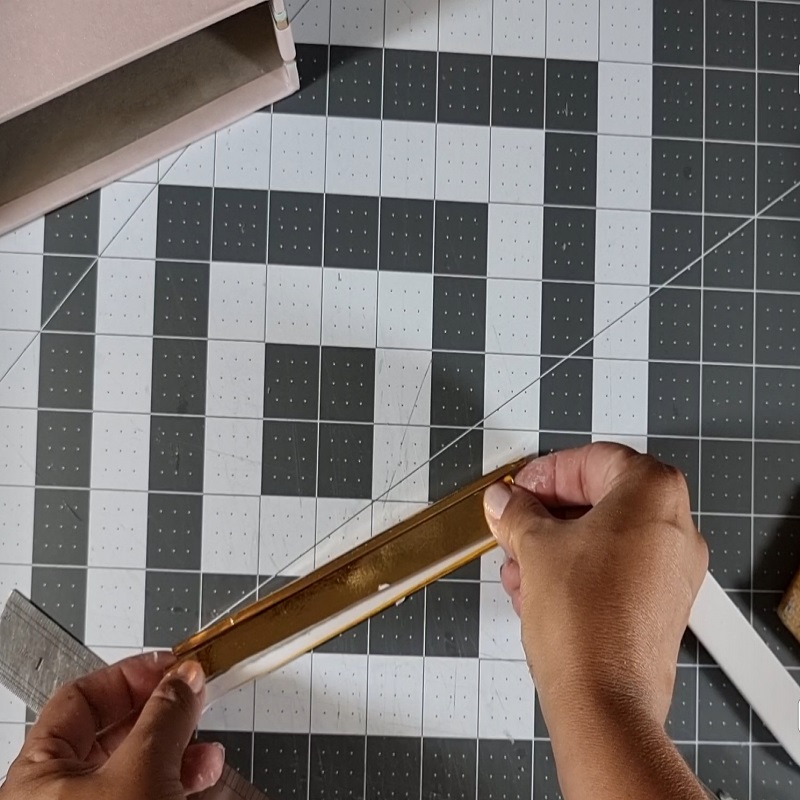
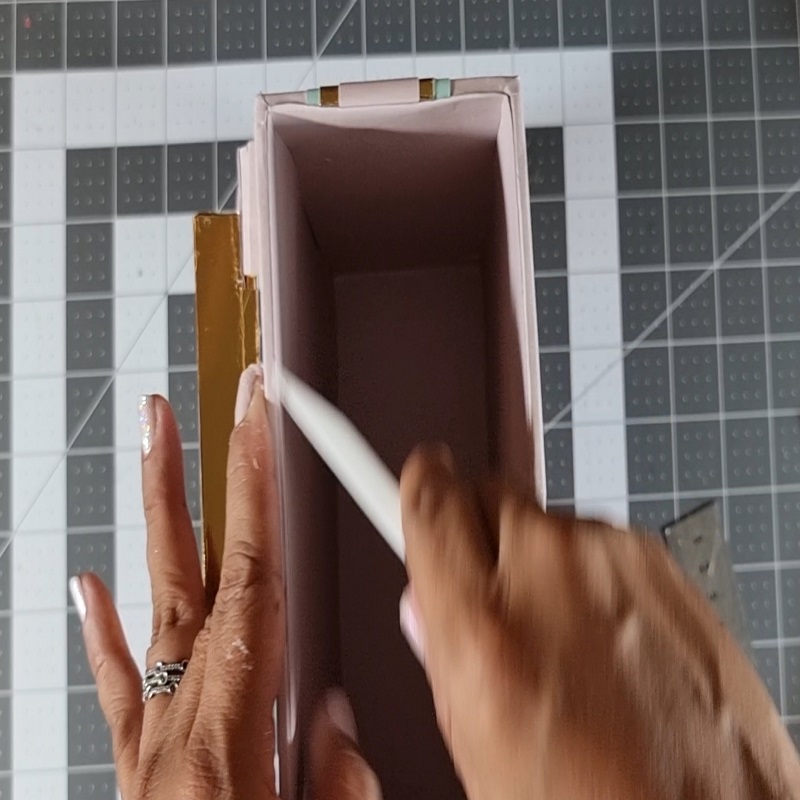
Prendemos al borde de nuestro marco y luego prendemos las pestañas que quedan en el interior de la caja para finalmente forrar todo el interior de la caja
We turn on the edge of our frame and then turn on the tabs that remain inside the box to finally line the entire inside of the box
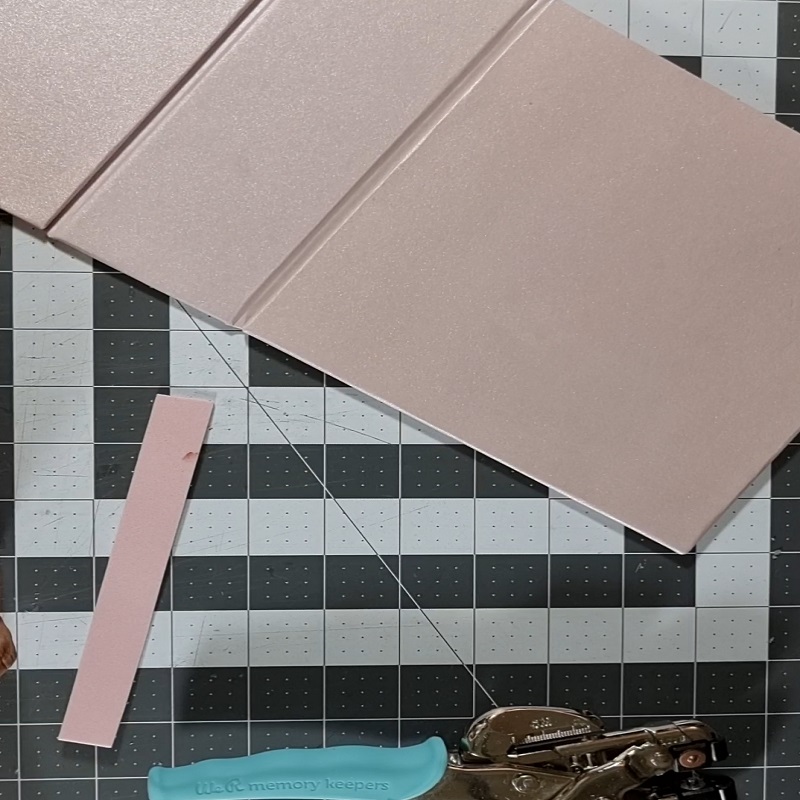
Armamos y decoramos el lomo de nuestro álbum con una tira de goma Eva de 2 cm por 15 cm la forramos con cartulina dorada de 15* 2 cm y le ponemos una tira de cartulina palo de rosa de 1 cm * 15 cm perforamos con la croop a dille luego prendemos y decoramos con los brads
We assemble and decorate the back of our album with a rubber strip Eva of 2 cm by 15 cm we line it with golden cardboard of 15* 2 cm and put a strip of cardboard rosewood of 1 cm * 15 cm perforated with the crop a dille then we light and decorate with the brads
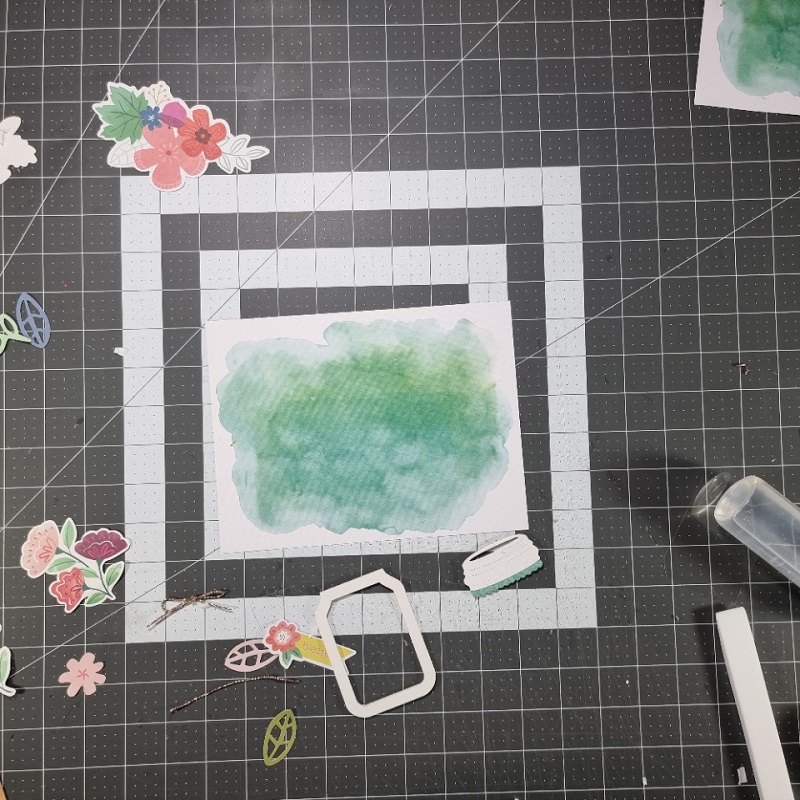
Decoramos los bordes de nuestras hojas con los marcos formados de los troqueles cuadrados y de diferentes colores prendemos alrededor de todas nuestras hojas para darle un detalle mejor acabado, decoramos el centro de nuestra hoja con los cuadrados mas pequeños de 12 por 12 cm cortados con los troqueles Troqueles Thinlits – Tablero de Clavija Cuadrada Cosida y prendemos en el plástico laminado
We decorate the edges of our leaves with the frames formed of square dies and of different colors we light around all our sheets to give it a better finish detail, decorate the center of our sheet with the smallest squares of 12 by 12 cut with the dies of Troqueles Thinlits – Tablero de Clavija Cuadrada Cosidaand light in the laminate plastic
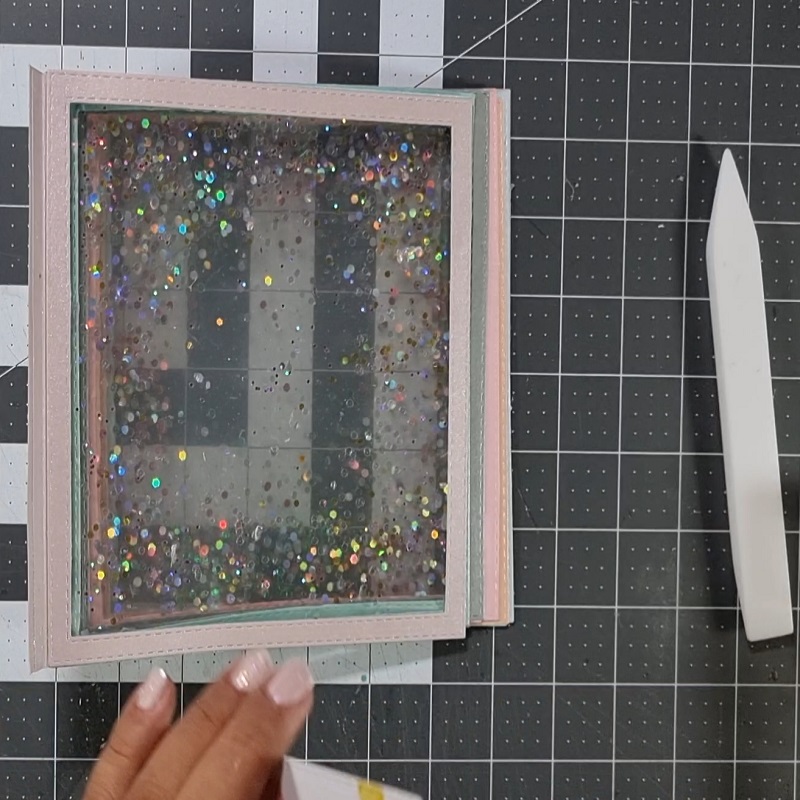
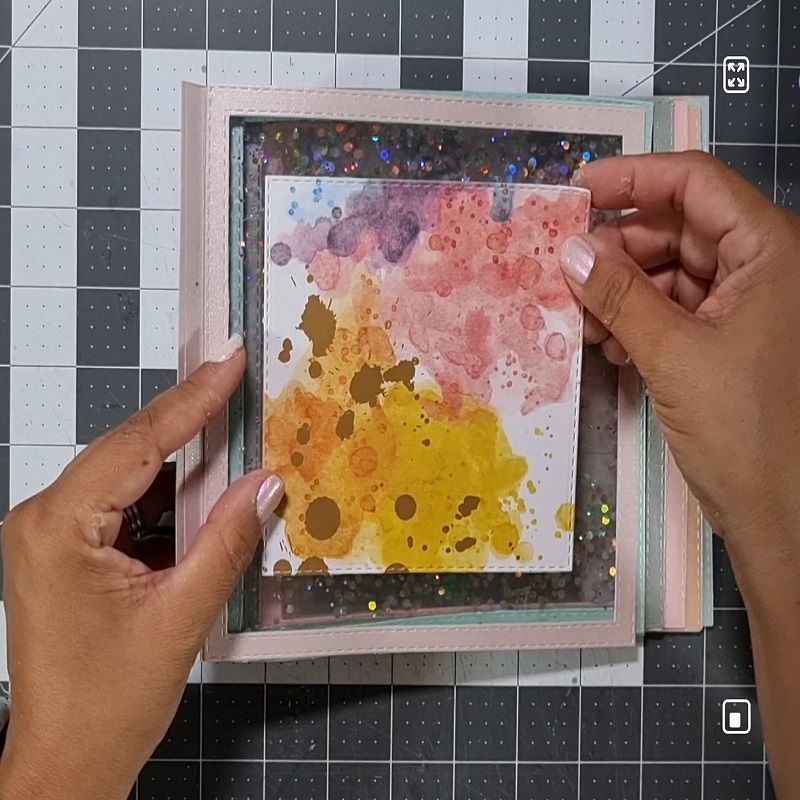
Prendemos a nuestro lomo tapa y contra tapa todas estas hojas ya decoradas luego forramos la contra tapa y la tapa con una cartulina palo de rosa de 19 * 18 cm prendemos y quedaría armado el álbum
We light to our back cap and counter cover all these already decorated leaves then we form the back cover and the lid with a cardboard rosewood of 19 * 18 cm we will turn on and the album would be armed
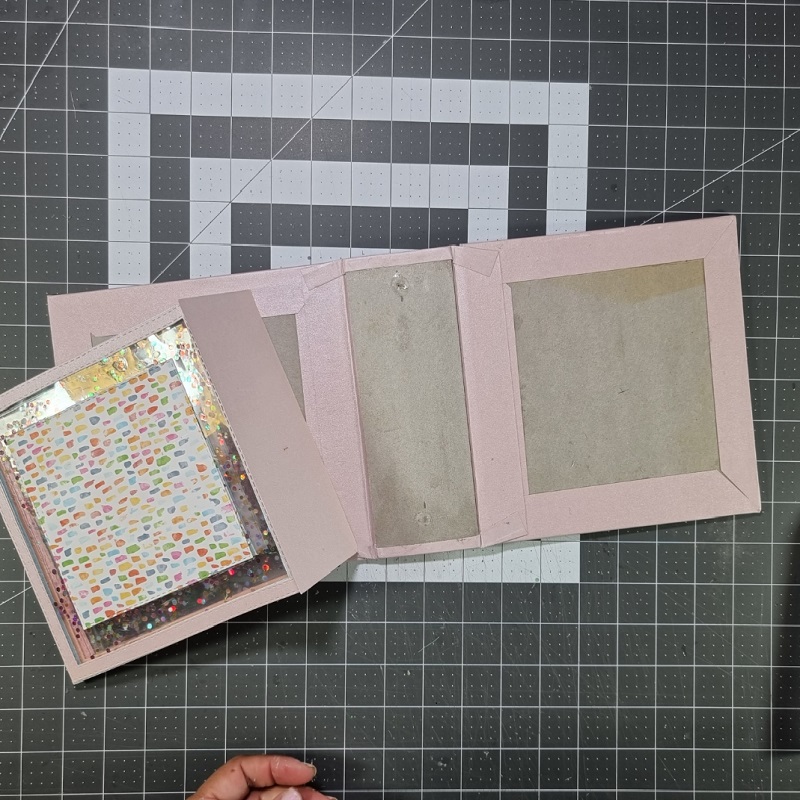
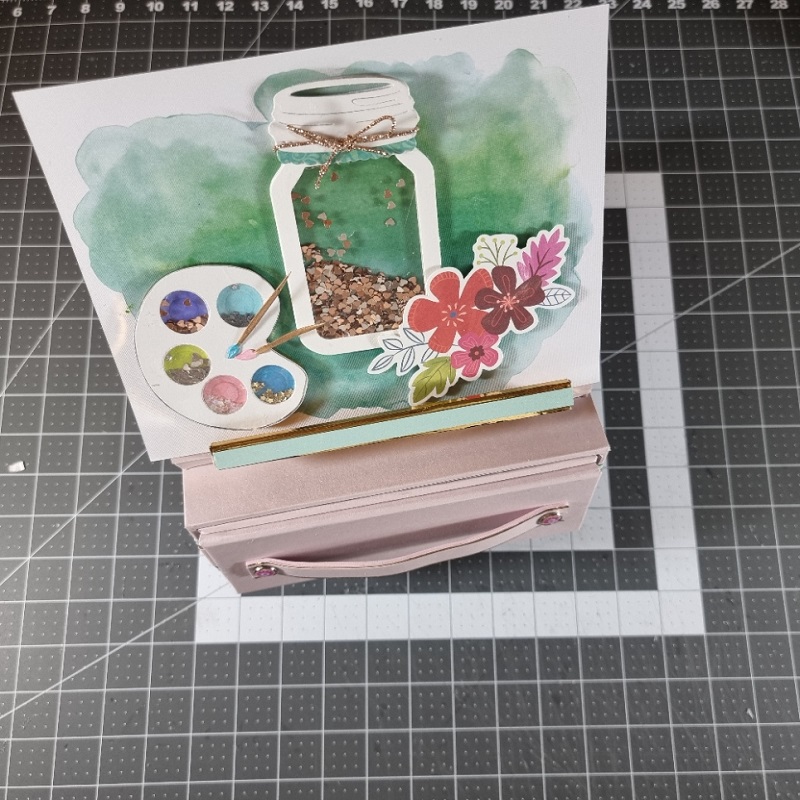
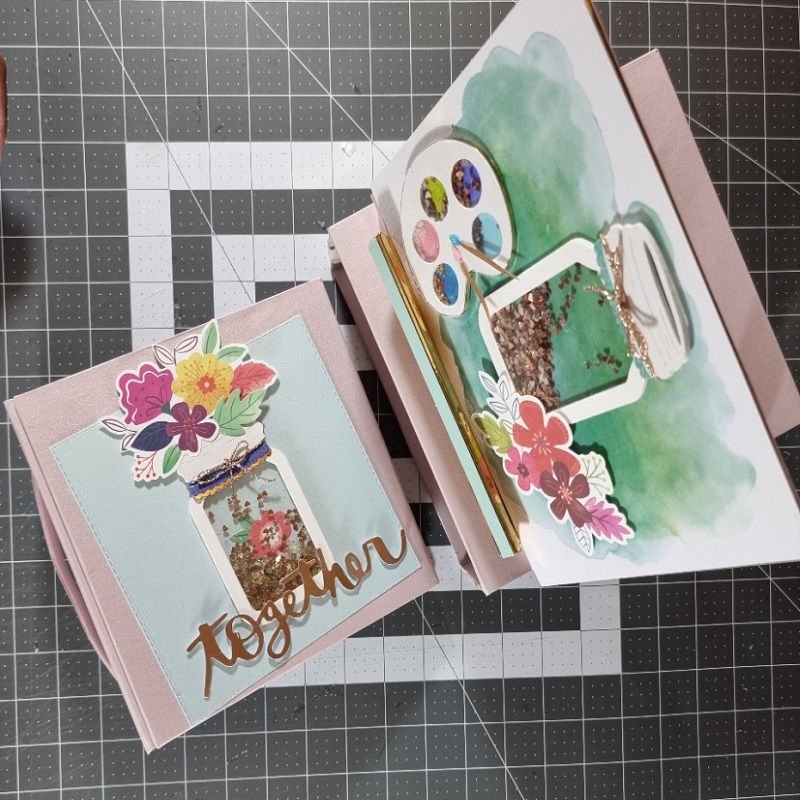
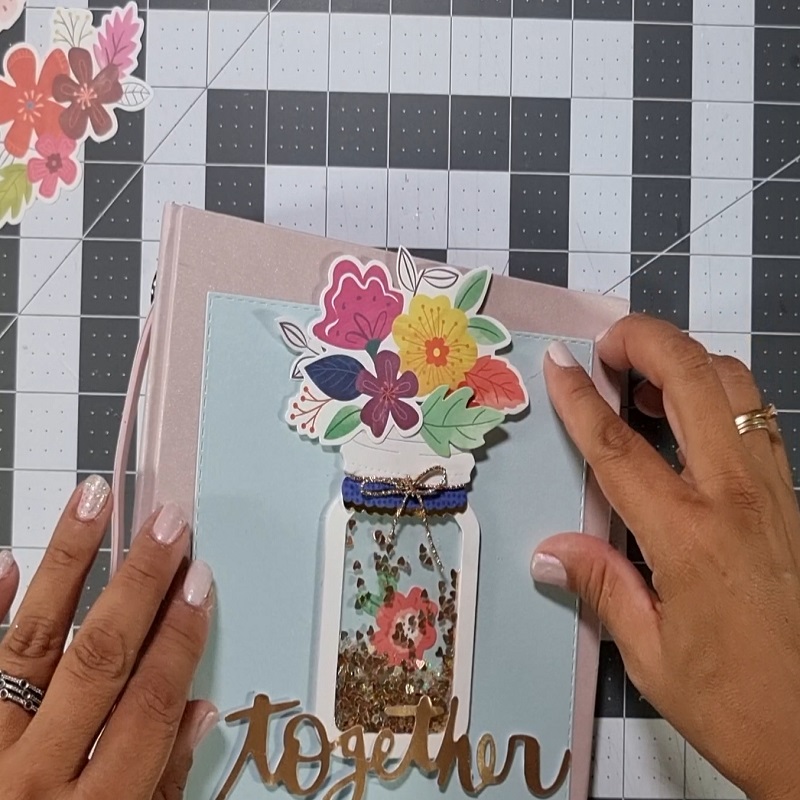
Decoramos con el shakers de los frascos la portada de nuestro álbum con una cartulina de 16 * por 16 cm celeste armamos la tapa luego la prendemos en el álbum, hacemos lo mismo para el detalle de decoración del cuadro que ira en el caballete con una hoja de la colección de Ephemera: Bloom Street Colección – Adornos – Paige Evans
We decorate with the shakers of the fraces the cover of our album with a cardboard of 16 * by 16 cm celestial we assemble the lid then we turn it on on the album, we do the same for the detail of decoration of the painting that will go on the easel with a sheet from the collection of Ephemera: Bloom Street Colección – Adornos – Paige Evans
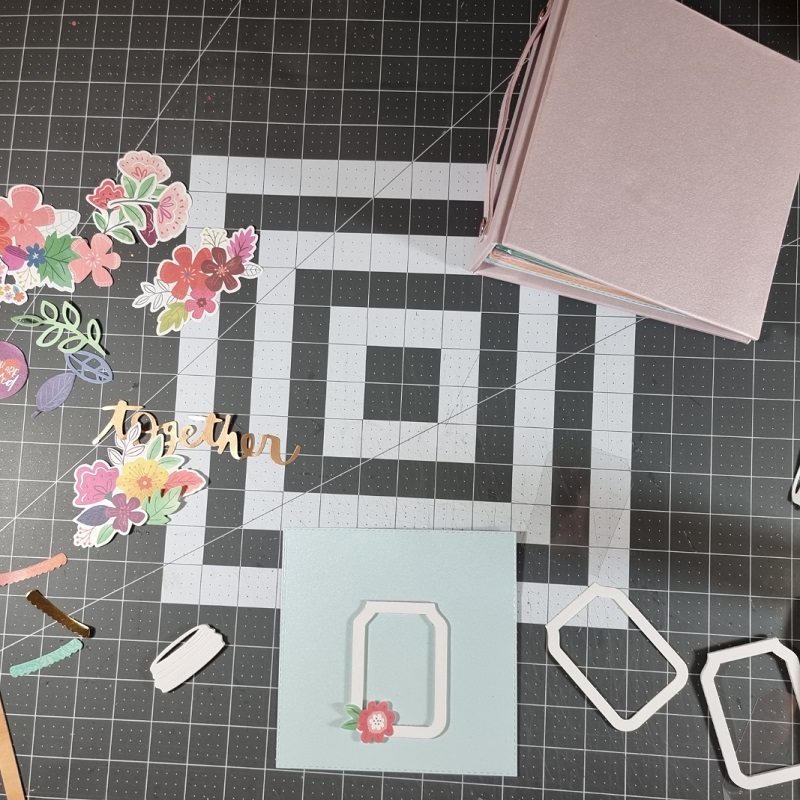
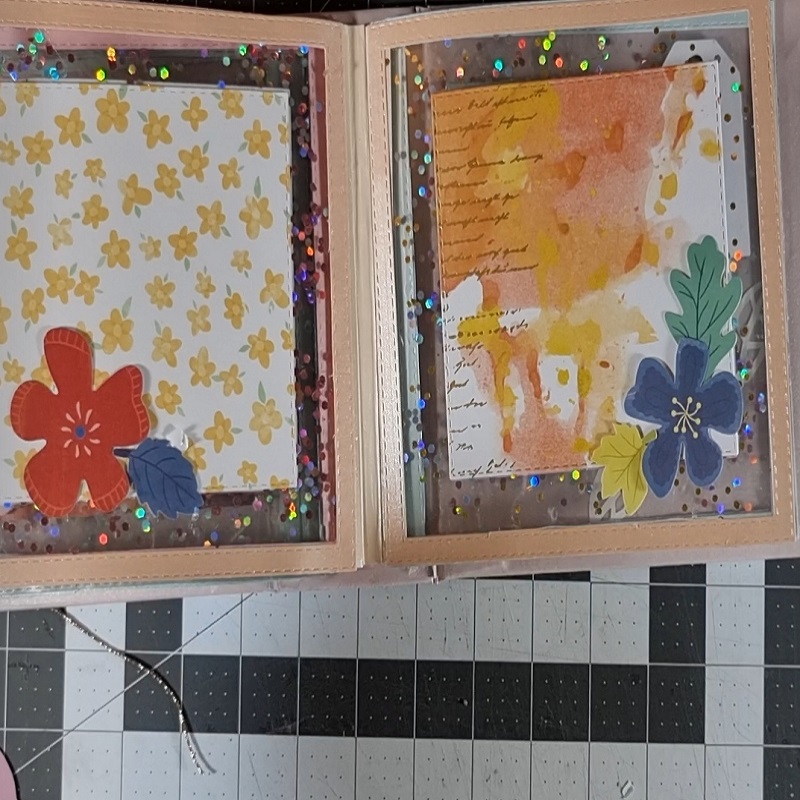
Terminamos decorando las hojas internas del álbum con hojas de las colecciones de Ephemera: Bloom Street Colección – Adornos – Paige Evans
We ended up decorating the inner sheets of the album with sheets from Vicky’s collections Ephemera: Bloom Street Colección – Adornos – Paige Evans
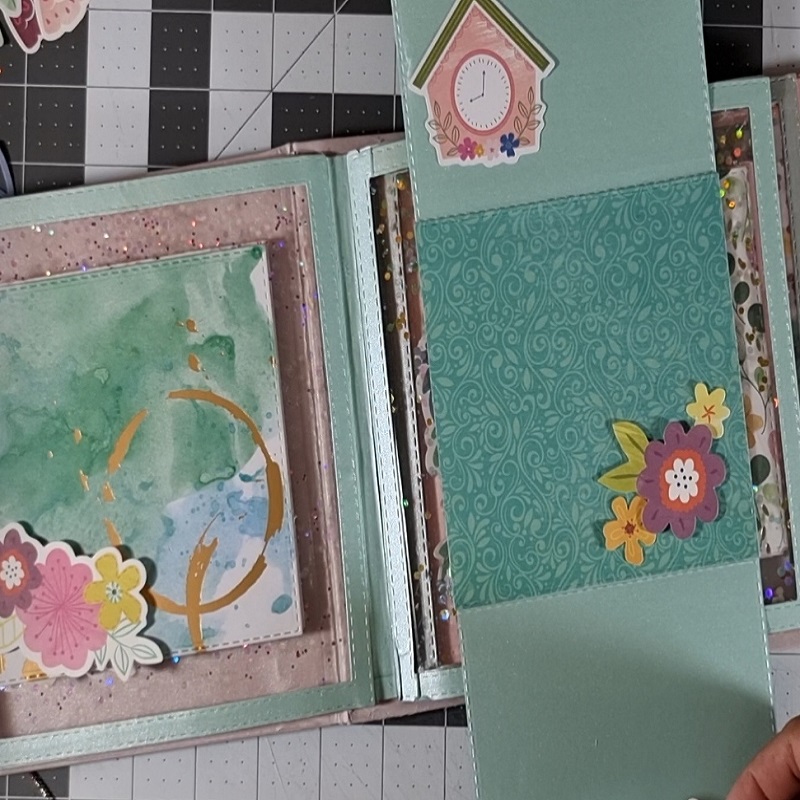
Este es el resultado de nuestro album caballete espero ue les guste y hasta una proxima oprtunidad
This is the result of our album easel I hope you like and even a next chance
