Buenas; mi nombre es Soledad de Jorge, soy parte del Design Team de Nube de Papel en la categoría de lettering. Desde hoy, me verán por aquí compartiendo tutoriales, ideas e inspiración para desarrollar este hermoso arte.
En esta oportunidad nos introduciremos en una manera correcta de comenzar a practicar el lettering con acuarelas.
Hello; my name is Soledad de Jorge, I am part of the Design Team of Nube de Papel in the lettering category. Starting today, you will see me around here sharing tutorials, ideas and inspiration to develop this beautiful art. This time we will introduce ourselves in a correct way to start practicing lettering with watercolors.
Los materiales que utilizaremos serán los siguientes: (The materials that we will use will be the following)
- Acuarelas líquidas Ecoline https://nubedepapel.com.bo/categoria/material-artistico/acuarela/liquidas/
- Pincel redondo N. 2 Línea moderna https://nubedepapel.com.bo/producto/pincel-moderna-m77l-2-0/
- Cuaderno de escritura en acuarela Script de Kelly Creates https://nubedepapel.com.bo/producto/cuaderno-de-practica-de-letras-caligrafia-con-acuarelas/
- Cuaderno de escritura en acuarela Palabras de Kelly Creates
- Paleta de Kelly Creates
- Un vaso con agua
- Paño de cocina
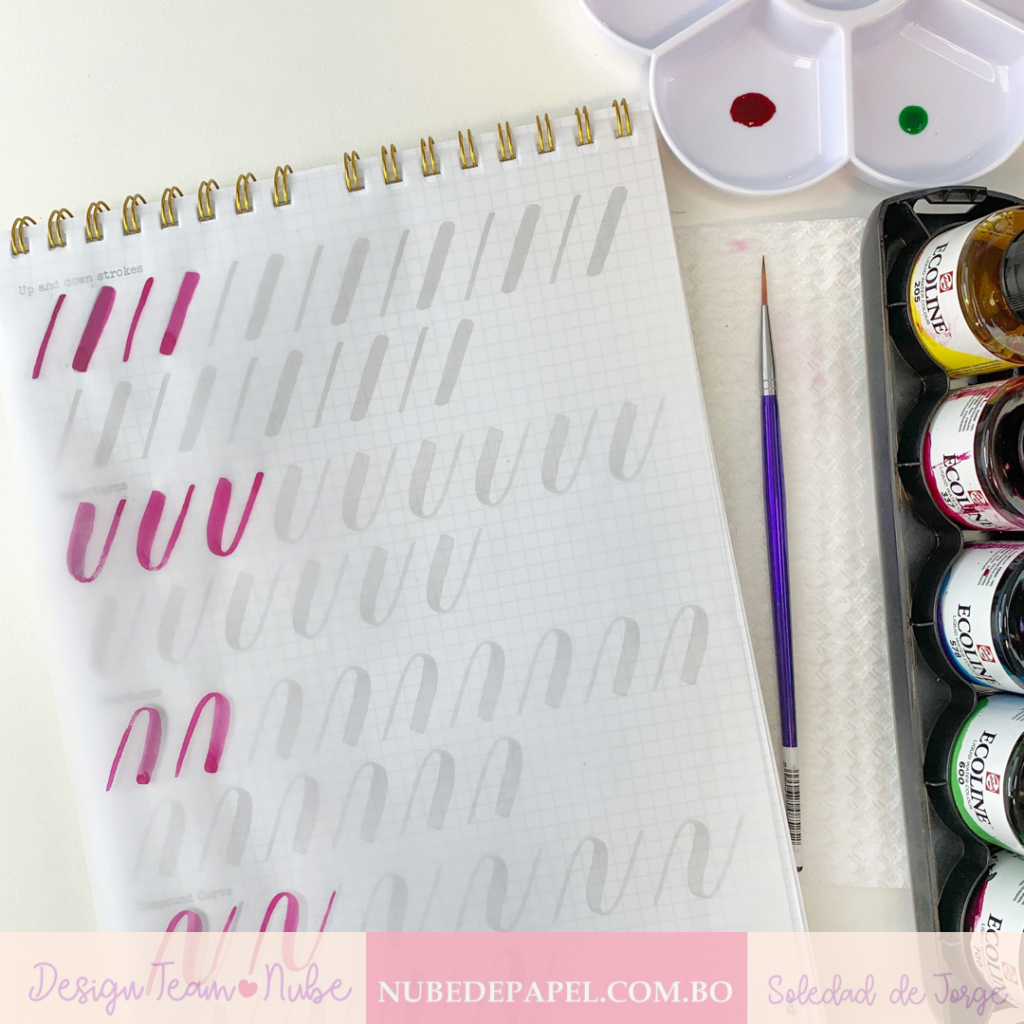
Comenzamos en el cuaderno de práctica de letras. Siempre que vamos a hacer algún trabajo de lettering o a practicarlo comenzamos “calentando la mano”, es decir, practicando los trazos básicos.
Para ello debemos considerar que la única regla que se aplica en el lettering (tomada de la caligrafía) es “la regla de oro”: los trazos ascendentes suben delgados y los trazos descendentes bajan gruesos.
Recordemos que la caligrafía es el arte de la bella escritura, mientras el lettering es el arte de dibujar bellas letras. Así que como estamos dibujando letras, tenemos absoluta libertad para dibujarlas como nos gusten, además nos dará la oportunidad de corregir nuestros trazos cada vez que lo veamos conveniente.
We start in the letter practice notebook. Whenever we are going to do some lettering work or to practice it, we start by “warming up the hand”, that is, practicing the basic lines.
For this we must consider that the only rule that applies in lettering (taken from calligraphy) is «the golden rule»: ascending strokes go up thin and descending strokes go down thick.
Let us remember that calligraphy is the art of beautiful writing, while lettering is the art of drawing beautiful letters. So since we are drawing letters, we have absolute freedom to draw them as we like, and it will also give us the opportunity to correct our strokes whenever we see fit.
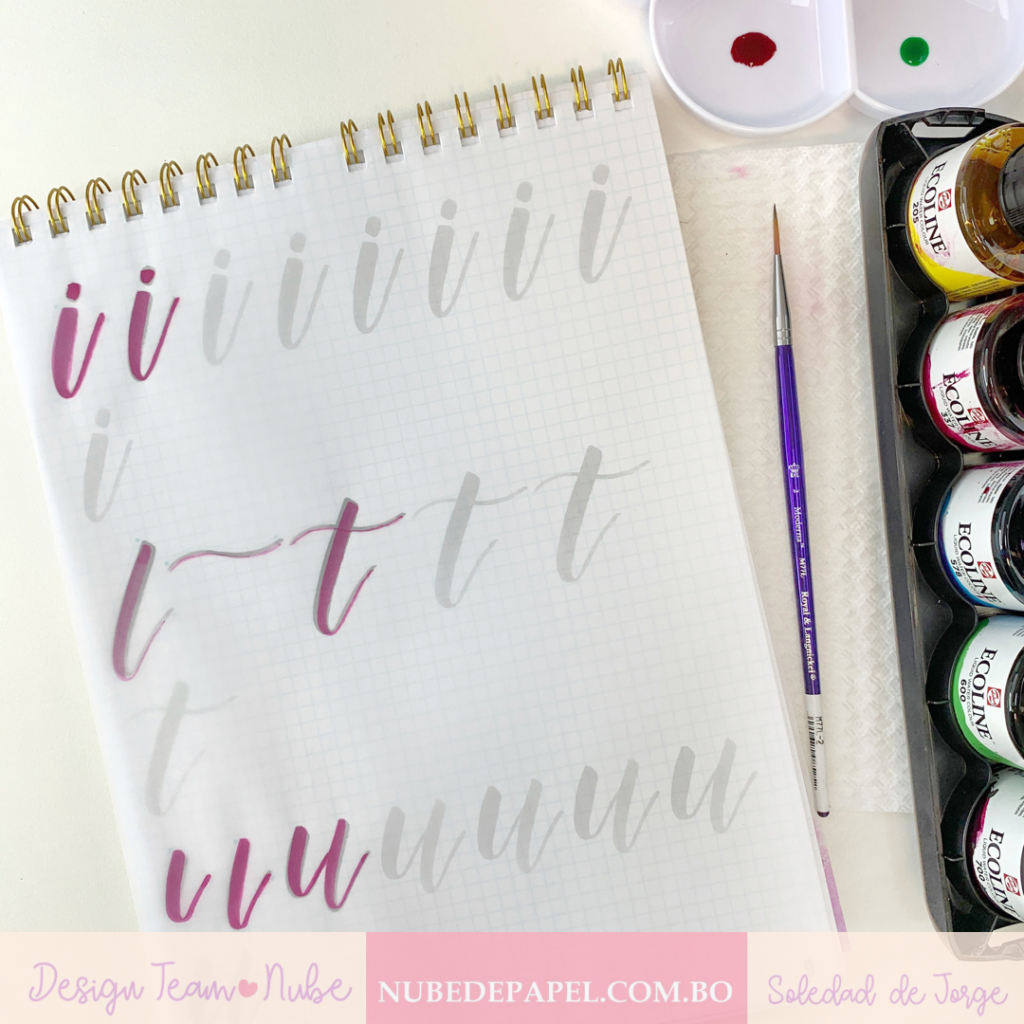
A continuación podemos pasar a dibujar las letras, las cuales se formarán de la unión de los trazos que venimos practicando.
La forma adecuada de practicar las letras es comenzar por grupos afines: la i, t, y u comparten el mismo trazo; la a, c, e también.
Then we can go on to draw the letters, which will be formed from the union of the lines that we have been practicing.
The proper way to practice letters is to start with related groups: i, t, and u share the same stroke; the a, c, e too.
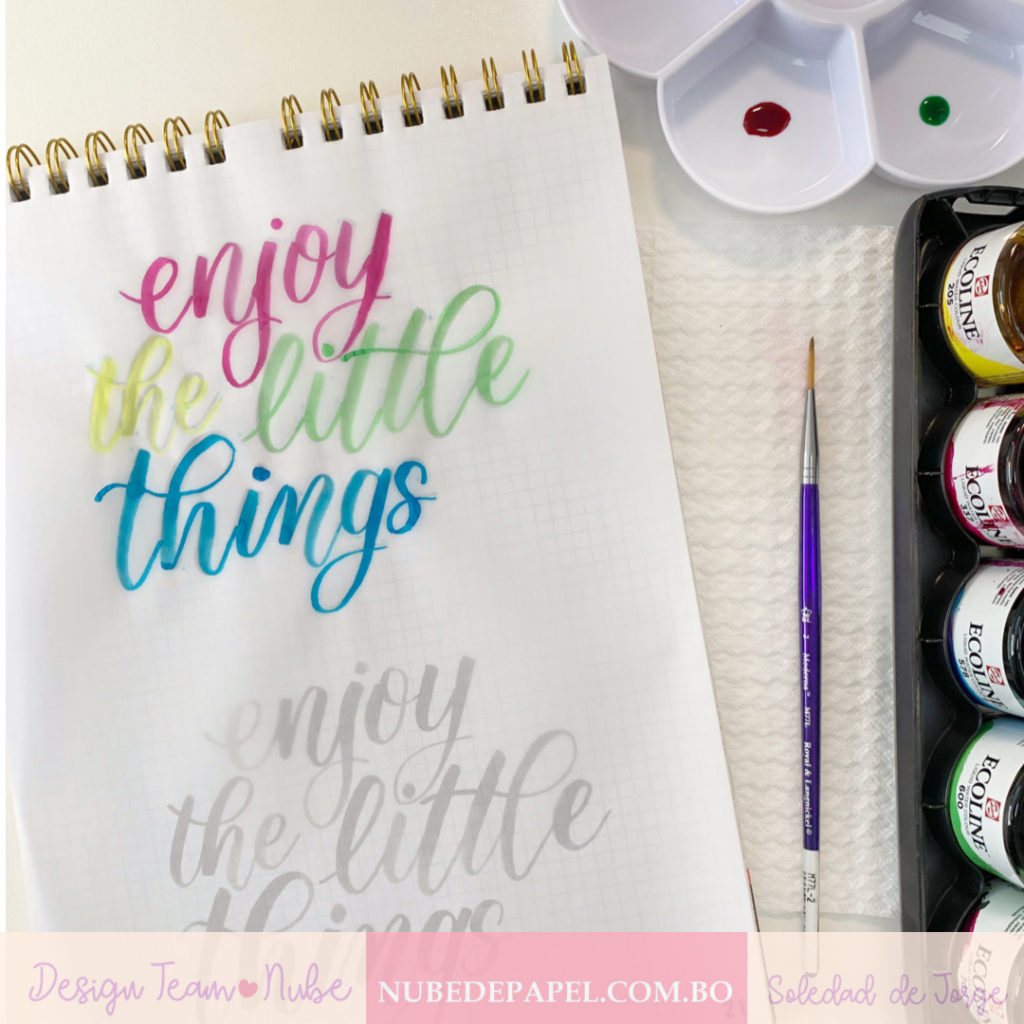
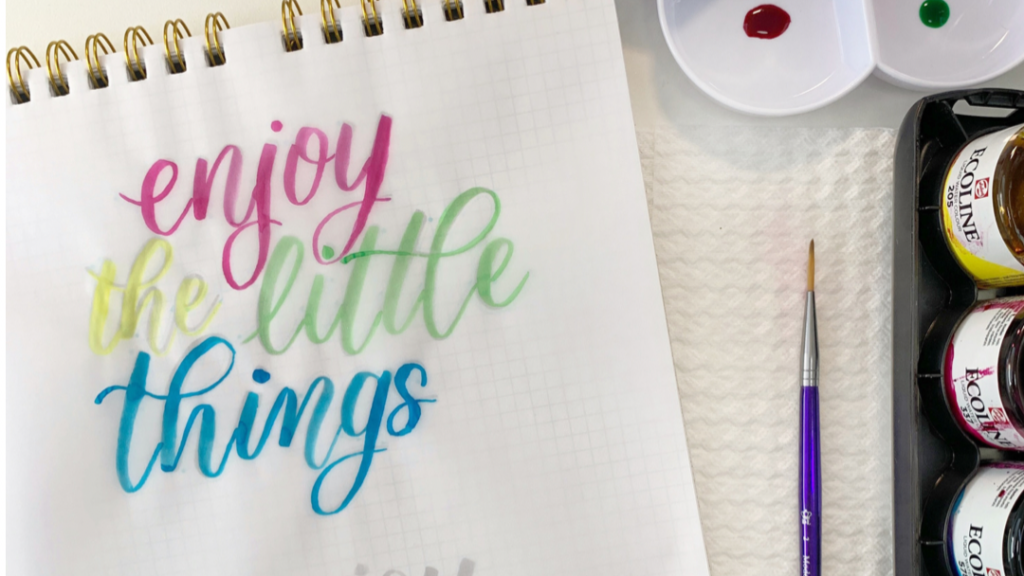
Los trazos forman letras, las letras palabras y las palabras frases y oraciones. Por último entonces pasamos a practicar las palabras, en el cuaderno de práctica de palabras y frases.
Además es una excelente oportunidad para probar los colores de las acuarelas y divertirnos con ellas.
Hasta aquí avanzaremos por hoy, muy pronto seguiremos profundizando en este arte, no te olvides pasar por nuestro canal de youtube para ver el video de este tutorial.
The strokes form letters, the letters words, and the words phrases and sentences. Finally then we move on to practice the words, in the words and phrases practice notebook.
It is also an excellent opportunity to try the colors of the watercolors and have fun with them.
So far we will advance for today, very soon we will continue to deepen this art, do not forget to visit our youtube channel to see the video of this tutorial.
